Install Traefik Hub Gateway on Nomad
Prequisites
Step1: Deploy Traefik Hub API Gateway
With Consul and Nomad installed and configured on your machine, you can deploy Traefik Hub using the following steps:
- Create a Nomad job file for Traefik Hub. We’ll name it
traefik-hub.nomad
sudo tee /etc/nomad.d/traefik-hub.nomad > /dev/null <<EOF
job "traefik-hub" {
  datacenters = ["dc1"]

  group "traefik" {

    network {
      mode = "bridge"
      port "web" {
       static = 8080
     }
    }

    service {
      name = "traefik"
      provider = "nomad"
      tags = [
        "traefik.enable=true",
        "traefik.http.routers.traefik.entrypoints=web",
        "traefik.http.routers.traefik.rule=PathPrefix(`/api`) || PathPrefix(`/dashboard`)",
        "traefik.http.routers.traefik.service=api@internal",
        "traefik.http.services.dummy-svc.loadbalancer.server.port=9999"
     ]
    }


    count = 1

    task "traefik" {

      driver = "docker"

      config {
        image = "ghcr.io/traefik/traefik-hub:v3"

        args = [
          "traefik-hub",
          "--entryPoints.web.address=:8080/tcp",
          "--api.dashboard=true",
          "--providers.nomad.endpoint.address=<your-machine-ip>:4646",
          "--providers.nomad.exposedByDefault=false",
          "--hub.token=",
          "--log.level=DEBUG"
        ]

      ports = ["web"]
      cap_add = ["NET_BIND_SERVICE"]
      cap_drop = ["ALL"]
  }

      resources {
        cpu    = 500
        memory = 256
      }
    }
  }
}
EOF
- Replace
<YOUR_HUB_TOKEN>with the actual Traefik Hub token from your New Gateway. Please select "Nomad" as the platform while creating a new Gateway - We’re using the docker driver, which interfaces with containerd through Nomad.
- We’re binding directly to ports 80, 443, and 8080.
Working in an air-gapped environment? Want to install Traefik Hub API Gateway in an offline mode?
Check out the Offline Mode documentation.
- Run the Traefik Hub job using the Nomad CLI:
nomad job run traefik-hub.nomad
We should see output indicating that the job has been registered and dispatched.
Command Output
ID            = traefik-hub
Name          = traefik-hub
Submit Date   = XXXX
Type          = service
Priority      = 50
Datacenters   = dc1
Namespace     = default
Node Pool     = default
Status        = running
Periodic      = false
Parameterized = false

Summary
Task Group  Queued  Starting  Running  Failed  Complete  Lost  Unknown
traefik     0       0         1        0       0         0     0

Latest Deployment
ID          = ef7b3c7a
Status      = successful
Description = Deployment completed successfully

Deployed
Task Group  Desired  Placed  Healthy  Unhealthy  Progress Deadline
traefik     1        1       1        0          2024-11-06T14:49:45Z

Allocations
ID        Node ID   Task Group  Version  Desired  Status   Created    Modified
4865d2bf  3b9a52c8  traefik     0        run      running  2m54s ago  2m22s ago
Step 2: Verify the Installation
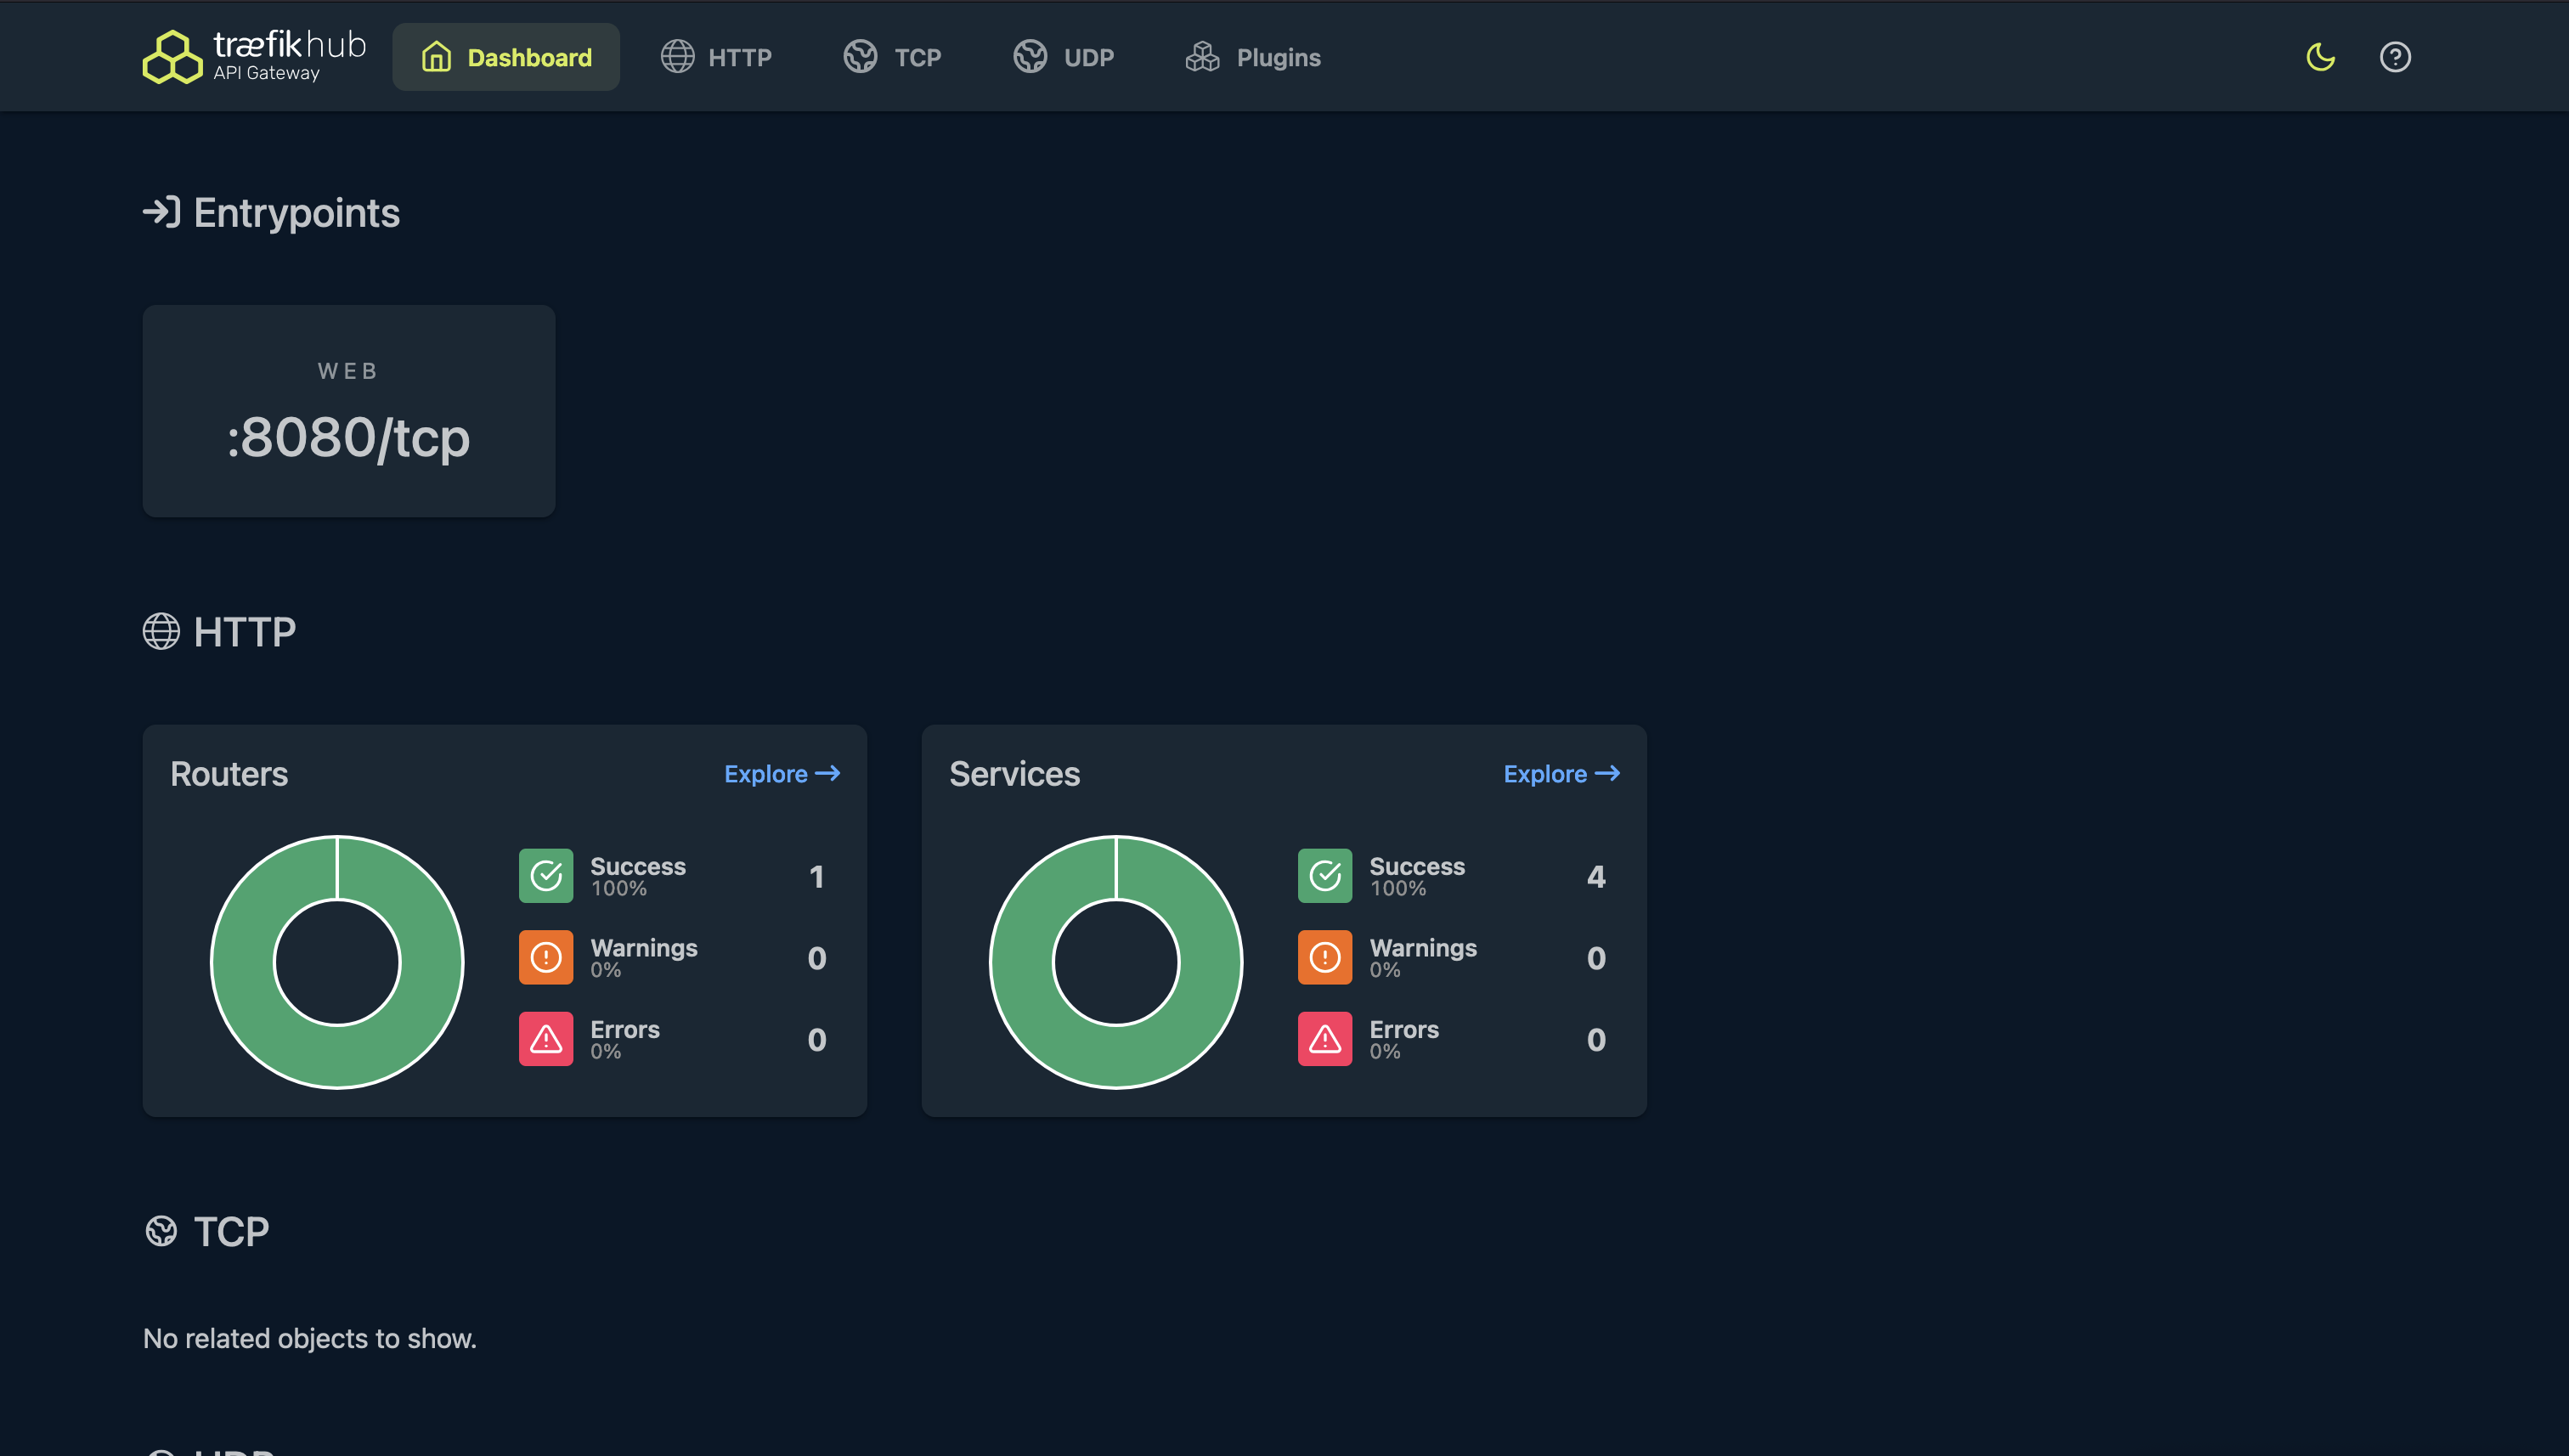
Now that Traefik Hub is deployed, We can verify our access to the Traefik Hub Dashboard by navigating to:
http://localhost:8080/dashboard/

# OR

http://<your-machine-ip>:8080/dashboard/
We should see the Traefik Hub local dashboard.

If we head over to the Traefik Hub SaaS platform we should see that the Gateway is online.
Install using a FIPS 140-2 Compliant Image
FIPS 140-2 is a U.S. Federal Government security standard used to approve cryptographic modules. This section explains how to install a version of Traefik Hub API Gateway that meets FIPS compliance.
Traefik Hub supports FIPS 140-2 compliance for Linux binaries by building its images with a Go toolchain linked to BoringCrypto.
In Go, BoringCrypto is a general-purpose cryptographic module that complies with FIPS 140-2.
For each version of Traefik Hub API Gateway, a specific Docker image is built using the Go option GOEXPERIMENT=boringcrypto.
For more information on our FIPS compliance, see the FIPS Compliance Reference.
Deploy Traefik Hub API Gateway
In the Step 1 described above, replace the Traefik Hub Gateway image with the FIPS one. To do so, set the major version as a prefix in the image tag.
For example, to install the FIPS compliant Traefik Hub API Gateway image in version v3:
sudo tee /etc/nomad.d/traefik-hub.nomad > /dev/null <<EOF
job "traefik-hub" {
  datacenters = ["dc1"]

  group "traefik" {

    network {
      mode = "bridge"
      port "web" {
       static = 8080
     }
    }

    service {
      name = "traefik"
      provider = "nomad"
      tags = [
        "traefik.enable=true",
        "traefik.http.routers.traefik.entrypoints=web",
        "traefik.http.routers.traefik.rule=PathPrefix(`/api`) || PathPrefix(`/dashboard`)",
        "traefik.http.routers.traefik.service=api@internal",
        "traefik.http.services.dummy-svc.loadbalancer.server.port=9999"
     ]
    }


    count = 1

    task "traefik" {

      driver = "docker"

      config {
        image = "ghcr.io/traefik/traefik-hub:v3-fips"

        args = [
          "traefik-hub",
          "--entryPoints.web.address=:8080/tcp",
          "--api.dashboard=true",
          "--providers.nomad.endpoint.address=<your-machine-ip>:4646",
          "--providers.nomad.exposedByDefault=false",
          "--hub.token=",
          "--log.level=DEBUG"
        ]

      ports = ["web"]
      cap_add = ["NET_BIND_SERVICE"]
      cap_drop = ["ALL"]
  }

      resources {
        cpu    = 500
        memory = 256
      }
    }
  }
}
EOF
If you want to download a specific version, you have to set the version as a prefix in the image tag. For example, to use the FIPS compliant Traefik Hub API GAteway image in version v3.1.1 use the tag v3.1.1-fips.
Conclusion
In this guide, we’ve successfully:
- Deployed Traefik Hub: Used Nomad to deploy Traefik Hub with the basic & FIPS compliant image.
- Verified the Installation: Accessed the Traefik Hub dashboard to confirm it’s running correctly.
Related content
- Read about the Consul Catalog Enterprise provider in Traefik Hub in its dedicated section.
- Learn more about integrating Traefik Hub and Consul Connect in this tutorial.
