Getting Started
For this tutorial, we deploy Traefik Hub API Gateway on a k3d cluster. It's possible to use alternatives such as kind, cloud providers, and others.
First, clone the GitHub repository dedicated to tutorials:
git clone https://github.com/traefik/hub.git
cd hub
Deploy Kubernetes
Using k3d
k3d cluster create traefik-hub --port 80:80@loadbalancer --port 443:443@loadbalancer --port 8000:8000@loadbalancer --k3s-arg "--disable=traefik@server:0"
Using Kind
kind requires some configuration to use an IngressController on localhost. See the following example:
Create the cluster
Ports need to be mapped for HTTP and HTTPS for kind with this config:
kind: Cluster
apiVersion: kind.x-k8s.io/v1alpha4
name: traefik-hub
nodes:
- role: control-plane
  extraPortMappings:
  - containerPort: 30000
    hostPort: 80
    protocol: TCP
  - containerPort: 30001
    hostPort: 443
    protocol: TCP
kind create cluster --config=src/kind/config.yaml
kubectl cluster-info
kubectl wait --for=condition=ready nodes traefik-hub-control-plane
Now, add a load balancer (LB) to it:
kubectl apply -f src/kind/metallb-native.yaml
kubectl wait --namespace metallb-system --for=condition=ready pod --selector=app=metallb --timeout=90s
kubectl apply -f src/kind/metallb-config.yaml
Step 1: Install Traefik Hub
First, log in to the Traefik Hub Online Dashboard and open the page to create a new gateway.
⚠️ Do not install the gateway, but copy the token.
Then, open a terminal and run these commands to create the required secret:
export TRAEFIK_HUB_TOKEN=
kubectl create namespace traefik
kubectl create secret generic traefik-hub-license --namespace traefik --from-literal=token=$TRAEFIK_HUB_TOKEN
Now, install Traefik Hub with Helm:
# Add the Helm repository
helm repo add --force-update traefik https://traefik.github.io/charts
# Install the Helm chart
helm install traefik -n traefik --wait \
  --version v34.4.0 \
  --set hub.token=traefik-hub-license \
  --set hub.apimanagement.enabled=true \
  --set ingressClass.enabled=false \
  --set ingressRoute.dashboard.enabled=true \
  --set ingressRoute.dashboard.matchRule='Host(`dashboard.docker.localhost`)' \
  --set ingressRoute.dashboard.entryPoints={web} \
  --set image.registry=ghcr.io \
  --set image.repository=traefik/traefik-hub \
  --set image.tag=v3.14.1 \
  --set ports.web.nodePort=30000 \
  --set ports.websecure.nodePort=30001 \
   traefik/traefik
If Traefik Hub is already installed, we can instead upgrade the Traefik Hub instance:
# Upgrade CRDs
kubectl apply --server-side --force-conflicts -k https://github.com/traefik/traefik-helm-chart/traefik/crds/
# Update the Helm repository
helm repo add --force-update traefik https://traefik.github.io/charts
# Upgrade the Helm chart
helm upgrade traefik -n traefik --wait \
  --version v34.4.0 \
  --set hub.token=traefik-hub-license \
  --set hub.apimanagement.enabled=true \
  --set ingressClass.enabled=false \
  --set ingressRoute.dashboard.enabled=true \
  --set ingressRoute.dashboard.matchRule='Host(`dashboard.docker.localhost`)' \
  --set ingressRoute.dashboard.entryPoints={web} \
  --set image.registry=ghcr.io \
  --set image.repository=traefik/traefik-hub \
  --set image.tag=v3.14.1 \
  --set ports.web.nodePort=30000 \
  --set ports.websecure.nodePort=30001 \
   traefik/traefik
Now, we can access the local dashboard at http://dashboard.docker.localhost/.
Step 2: Deploy an API as an Ingress
ℹ️ This tutorial implements API using a JSON server in Go; check out the source code here.
First, let's deploy a weather app exposing an API:
kubectl apply -f src/manifests/apps-namespace.yaml
kubectl apply -f src/manifests/weather-app.yaml
It creates the weather app:
namespace/apps unchanged
configmap/weather-data unchanged
middleware.traefik.io/stripprefix-weather unchanged
deployment.apps/weather-app unchanged
service/weather-app unchanged
configmap/weather-app-openapispec unchanged
Then, expose the weather app using an IngressRoute:
---
apiVersion: traefik.io/v1alpha1
kind: IngressRoute
metadata:
  name: getting-started-apimanagement
  namespace: apps
spec:
  entryPoints:
    - web
  routes:
  - match: Host(`getting-started.apimanagement.docker.localhost`)
    kind: Rule
    services:
    - name: weather-app
      port: 3000
    middlewares:
      - name: stripprefix-weather
kubectl apply -f api-management/1-getting-started/manifests/weather-app-ingressroute.yaml
ingressroute.traefik.io/getting-started-apimanagement created
At this moment, this API is exposed. It's possible to reach it using curl command:
curl -s http://getting-started.apimanagement.docker.localhost/weather | jq
[
  {"city":"City of Gophers","id":"1","weather":"Sunny"},
  {"city":"GopherRocks","id":"2","weather":"Cloudy"},
  {"city":"GopherCity","id":"0","weather":"Moderate rain"}
]
Step 3: Manage the API using Traefik Hub API Management
Let's manage the weather API with Traefik Hub using API and APIAccess resources:
---
apiVersion: hub.traefik.io/v1alpha1
kind: API
metadata:
  name: getting-started-apimanagement-weather-api
  namespace: apps
spec:
  openApiSpec:
    path: /openapi.yaml
    override:
      servers:
        - url: http://api.getting-started.apimanagement.docker.localhost

---
apiVersion: hub.traefik.io/v1alpha1
kind: APIAccess
metadata:
  name: getting-started-apimanagement-weather-api
  namespace: apps
spec:
  apis:
  - name: getting-started-apimanagement-weather-api
  everyone: true
First, reference the API in the IngressRoute using the dedicated annotation:
---
apiVersion: traefik.io/v1alpha1
kind: IngressRoute
metadata:
  name: getting-started-apimanagement-weather-api
  namespace: apps
  annotations:
    hub.traefik.io/api: getting-started-apimanagement-weather-api # <=== Link to the API using its name
spec:
  entryPoints:
  - web
  routes:
  - match: Host(`api.getting-started.apimanagement.docker.localhost`) && PathPrefix(`/weather`)
    kind: Rule
    services:
    - name: weather-app
      port: 3000
Now, we can apply the above resources:
kubectl apply -f api-management/1-getting-started/manifests/api.yaml
It creates API, APIAccess, and links IngressRoute to the weather API:
api.hub.traefik.io/getting-started-apimanagement-weather-api created
apiaccess.hub.traefik.io/getting-started-apimanagement-weather-api created
ingressroute.traefik.io/getting-started-apimanagement-weather-api created
Now, the API is secured. When someone tries to access the API, it returns the expected 401 Unauthorized HTTP code:
curl -i http://api.getting-started.apimanagement.docker.localhost/weather
HTTP/1.1 401 Unauthorized
Date: Mon, 06 May 2024 12:09:56 GMT
Content-Length: 0
Step 4: Create a user for this API
We can create a user in the Traefik Hub Online Dashboard:
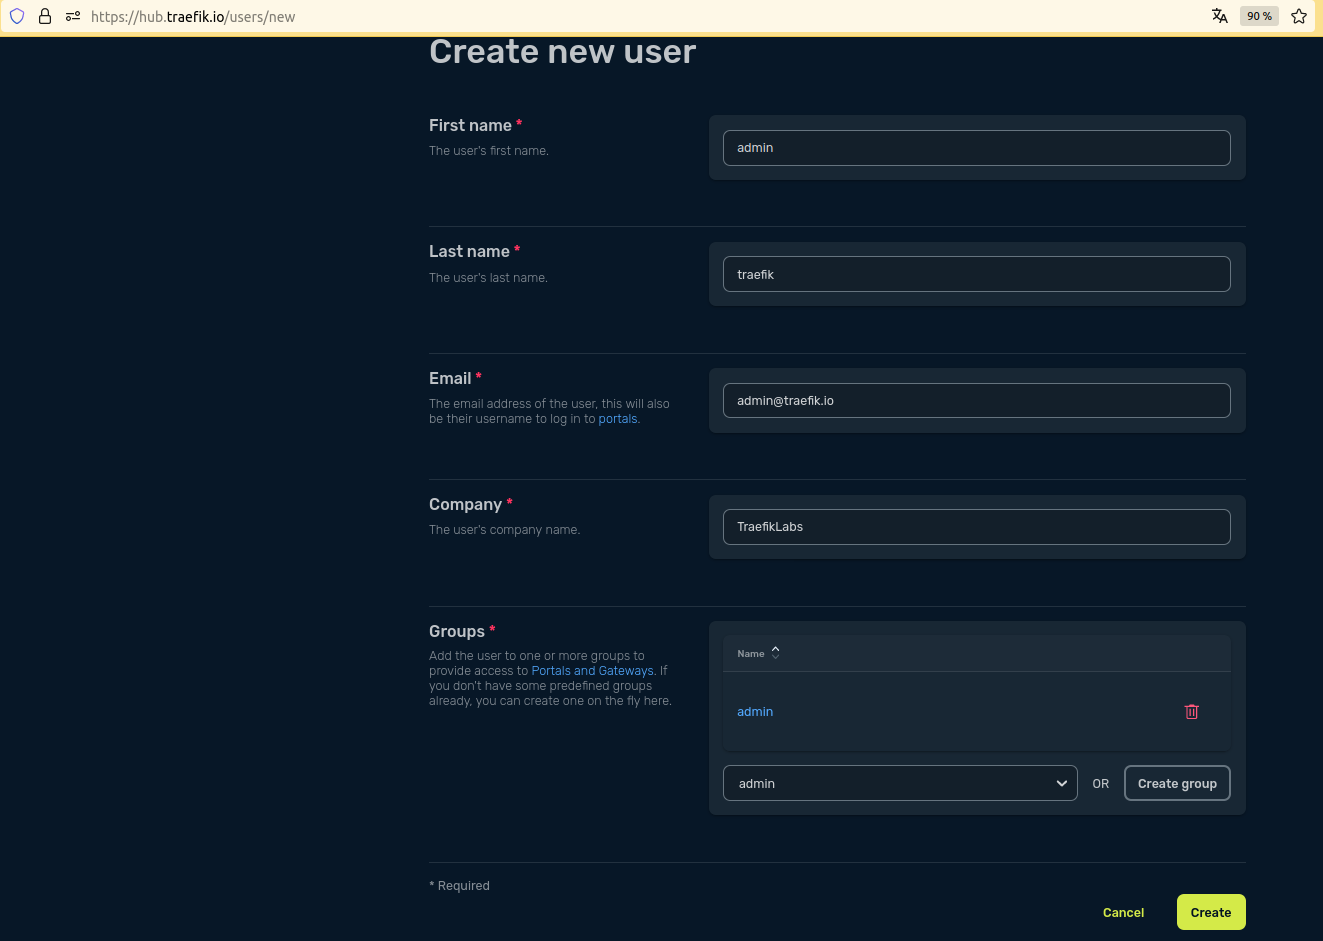
We can provide an API Portal to this user.
Step 5: Deploy the API Portal
An API Portal use the same logic as an API for the routing, using Ingress and dedicated annotation.
ℹ️ The portal enforces namespace boundaries and considers only APIAccess resources within the same namespace as the APIPortal.
---
apiVersion: hub.traefik.io/v1alpha1
kind: APIPortal
metadata:
  name: getting-started-apimanagement-apiportal
  namespace: apps
spec:
  title: API Portal
  description: "Apps Developer Portal"
  trustedUrls:
    - http://api.getting-started.apimanagement.docker.localhost

---
apiVersion: networking.k8s.io/v1
kind: Ingress
metadata:
  name: getting-started-apimanagement-apiportal
  namespace: traefik
  annotations:
    # This annotation link this Ingress to the API Portal using <name>@<namespace> format.
    hub.traefik.io/api-portal: getting-started-apimanagement-apiportal@apps
spec:
  rules:
  - host: api.getting-started.apimanagement.docker.localhost
    http:
      paths:
        - path: /
          pathType: Prefix
          backend:
            service:
              name: apiportal
              port:
                number: 9903
ℹ️ This API Portal is routed with the internal ClusterIP Service named apiportal provided with the Helm Chart.
kubectl apply -f api-management/1-getting-started/manifests/api-portal.yaml
sleep 30
apiportal.hub.traefik.io/getting-started-apimanagement-apiportal created
ingress.networking.k8s.io/getting-started-apimanagement-apiportal created
The API Portal is reachable on http://api.getting-started.apimanagement.docker.localhost.
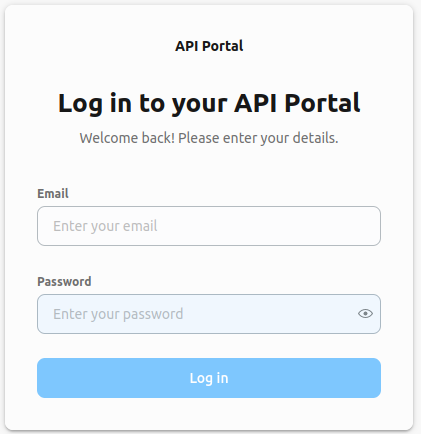
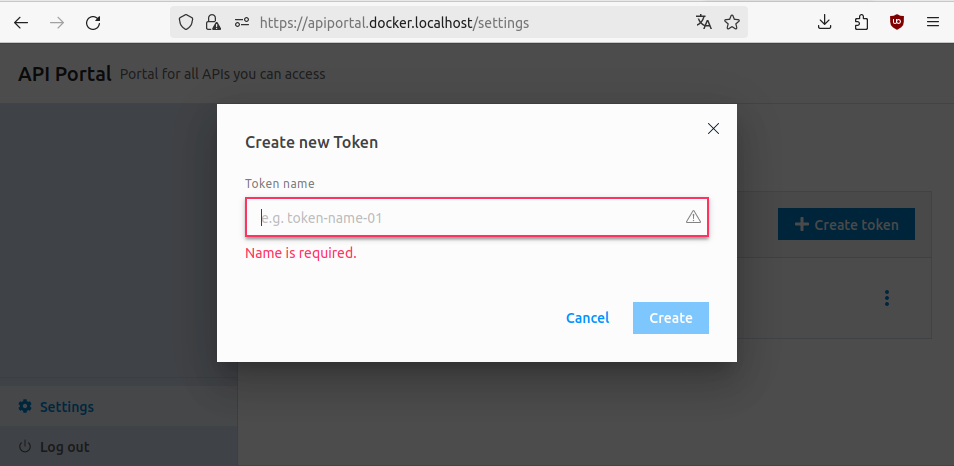
Now, we should be able to log in with the admin user and create a token for the user:
export ADMIN_TOKEN=
The weather API is reachable with this token set as header 🎉 :
curl -s -H "Authorization: Bearer $ADMIN_TOKEN" http://api.getting-started.apimanagement.docker.localhost/weather | jq
[
  {"city":"City of Gophers","id":"1","weather":"Sunny"},
  {"city":"GopherRocks","id":"2","weather":"Cloudy"},
  {"city":"GopherCity","id":"0","weather":"Moderate rain"}
]
ℹ️ If it fails with 401, wait a minute and try again. The token needs to be sync before it can be accepted by Traefik Hub.
We can see the API available in the apps namespace in the portal. We advise every API to come with an OpenAPI specification (OAS):
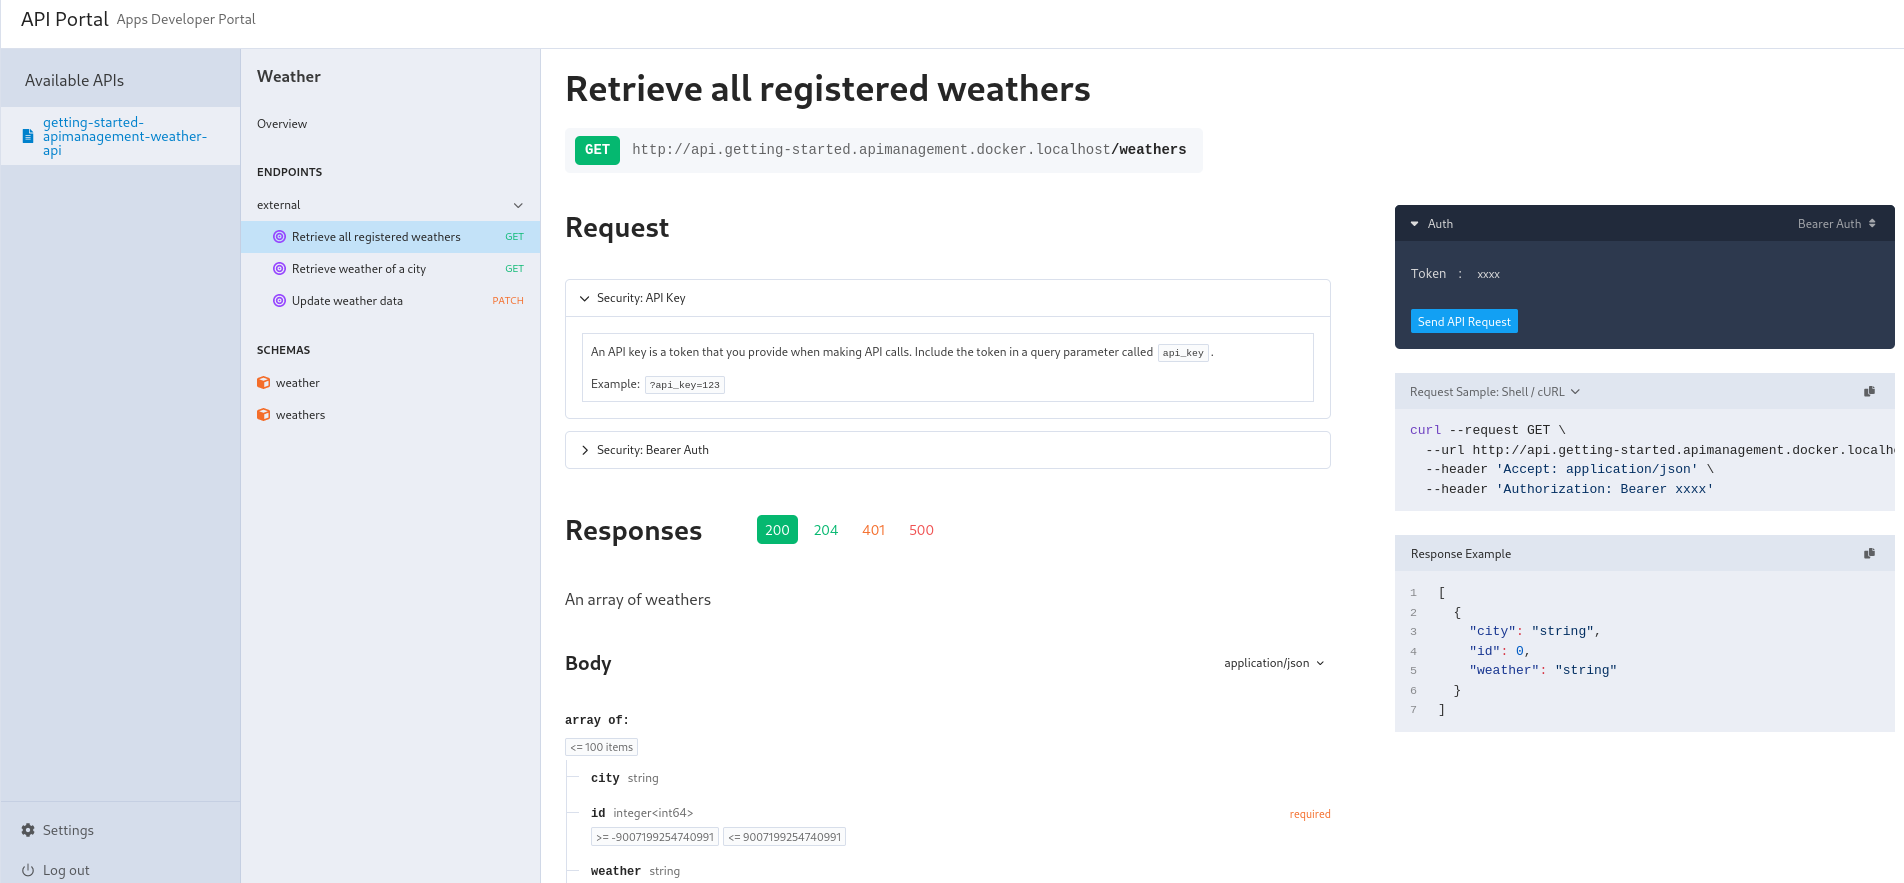
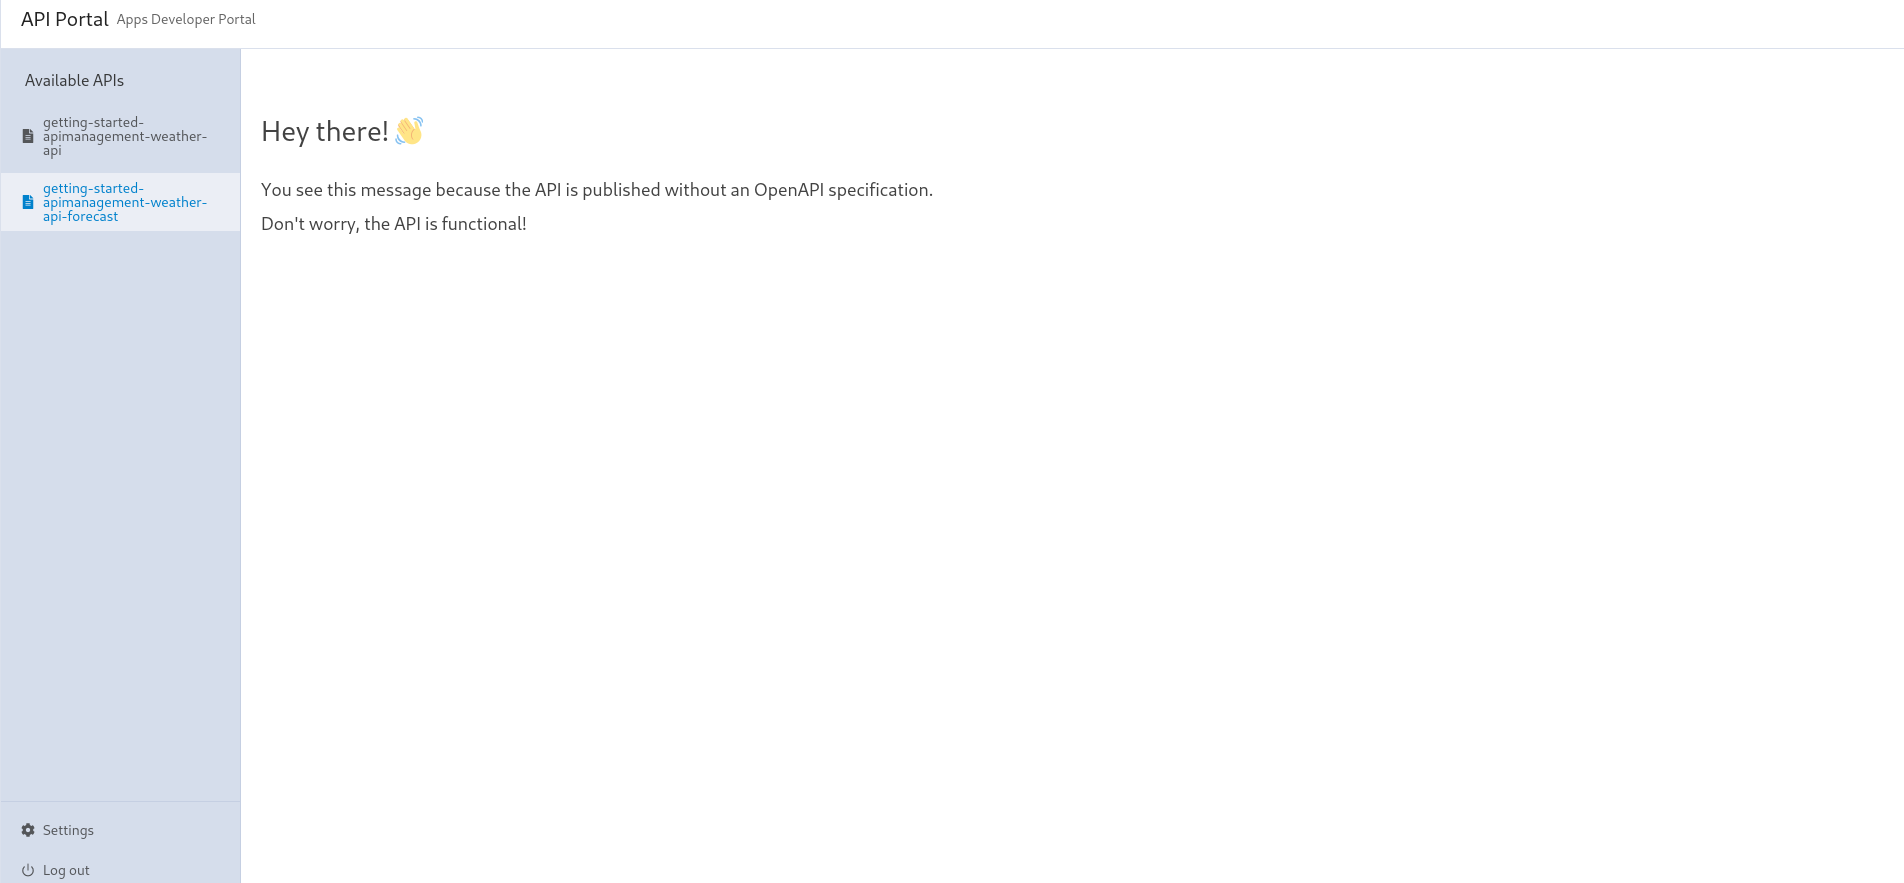
However, it's still possible not setting an OAS, but it severely hurts getting started with API consumption. Let's deploy a forecast app without an OpenAPI specification:
kubectl apply -f src/manifests/weather-app-forecast.yaml
This time, we will specify how to get this openapi spec in API CRD:
---
apiVersion: hub.traefik.io/v1alpha1
kind: API
metadata:
  name: getting-started-apimanagement-weather-api-forecast
  namespace: apps
spec: {}
The other resources are built on the same model, as we can see in the complete file. Let's apply it:
kubectl apply -f api-management/1-getting-started/manifests/forecast.yaml
api.hub.traefik.io/getting-started-apimanagement-weather-api-forecast created
apiaccess.hub.traefik.io/getting-started-apimanagement-weather-api-forecast created
ingressroute.traefik.io/getting-started-apimanagement-weather-api-forecast created
And that's it! This time, we have documentation built from the OpenAPI specification, and we can also interactively try the API with the Try Out functionality.
