Integrating External APIs with Traefik Hub on Oracle Cloud Infrastructure
Traefik Hub integrates with Oracle Cloud Infrastructure to provide comprehensive API management capabilities for external APIs. This guide demonstrates how to expose APIs hosted outside your Kubernetes cluster (such as Oracle Integration Cloud endpoints) through Traefik Hub, complete with API plans, developer portals, and security configurations.
This tutorial builds upon the foundation established in the Deploy Traefik Hub API Management from Oracle Marketplace guide, extending it to support external API integration and advanced authentication scenarios.
Prerequisites
Before you begin, ensure you have:
- An OCI Kubernetes Engine cluster
- Traefik Hub installed and running in your OCI Kubernetes Engine cluster. If you haven't set this up yet, follow this guide:
- Access to your OCI Kubernetes Engine cluster
- An external API endpoint (such as Oracle Integration Cloud) that you want to expose
Enable External API Support
By default, Traefik Hub disables access to services of type ExternalName and cross-namespace references to follow the principle of least privilege. These features are safe to enable when needed for your specific use case.
Since this integration involves exposing APIs hosted outside your Kubernetes cluster, you must explicitly enable these features.
For detailed information on external API configuration, refer to the External API Management documentation.
Update your Traefik Hub deployment to enable external API support:
helm upgrade --install \
  --namespace traefik \
  traefik traefik/traefik \
  --reset-then-reuse-values \
  --set "providers.kubernetesCRD.allowExternalNameServices=true" \
  --set "providers.kubernetesCRD.allowCrossNamespace=true"
You can also edit your Traefik Hub stack helm values to include Redis configuration and rerun the stack as described in the Deploy Traefik Hub API Management from Oracle Marketplace guide instead of using the command above.
Get Your Load Balancer IP
Before proceeding with the configuration, obtain the IP address of your cluster's load balancer:
export EXTERNAL_IP=$(kubectl get svc -n traefik traefik -o jsonpath='{.status.loadBalancer.ingress[0].ip}')
echo "Use EXTERNAL_IP=${EXTERNAL_IP}"
Replace <EXTERNAL_IP> with this value in all subsequent configuration examples.
For production deployments, consider using a fully qualified domain name (FQDN) instead of an IP address to enable proper TLS certificate generation. This guide uses IP addresses to avoid dependencies on DNS providers.
Service and Routing Configuration
Create Application Namespace
Create a namespace for your external API configuration if you don't have one already:
kubectl create namespace apps
ExternalName Service Configuration
Create an ExternalName service that points to your external API endpoint. In this example, we use httpbin.org but you can replace it with your own external API endpoint:
cat <<EOF | kubectl apply -f -
apiVersion: v1
kind: Service
metadata:
  name: oci-svc
  namespace: apps
spec:
  type: ExternalName
  externalName: httpbin.org # Replace with your external API endpoint
  ports:
    - port: 443
EOF
IngressRoute for External API
Configure an IngressRoute to expose your external API through Traefik Hub:
cat <<EOF | kubectl apply -f -
apiVersion: traefik.io/v1alpha1
kind: IngressRoute
metadata:
  name: traefik-ociapi-route
  namespace: apps
  annotations:
    hub.traefik.io/api: traefik-ociapi-api@apps
spec:
  entryPoints:
    - websecure
  routes:
    - match: PathPrefix(\`/ociapi\`)
      services:
        - name: oci-svc
          port: 443
          passHostHeader: false
      middlewares:
        - name: stripprefix-ociapi
EOF
Path Prefix Middleware
Create a middleware to strip the path prefix from incoming requests:
cat <<EOF | kubectl apply -f -
apiVersion: traefik.io/v1alpha1
kind: Middleware
metadata:
  name: stripprefix-ociapi
  namespace: apps
spec:
  stripPrefix:
    prefixes:
      - /ociapi
      - /oci-portal
EOF
API Definition and Plans
API Resource Configuration
Define your external API using Traefik Hub Hub's API resource. This example references an Oracle Integration Cloud OpenAPI specification:
cat <<EOF | kubectl apply -f -
apiVersion: hub.traefik.io/v1alpha1
kind: API
metadata:
  name: traefik-ociapi-api
  namespace: apps
spec:
  title: "traefik ociapi"
  description: "traefik ociapi"
  openApiSpec:
    url: https://raw.githubusercontent.com/carlosvillanua/apidefinitions/refs/heads/master/httpbinoas.json  # Replace with your own OpenAPI spec URL
    override:
      servers:
        - url: https://${EXTERNAL_IP}/ociapi/
EOF
Redis Installation for API Plans
API Plans require Redis for distributed rate limiting and quota management. Install Redis in your cluster:
If you already have Redis installed from the marketplace deployment, you can skip this step and reuse your existing Redis configuration.
The following Redis installation is for demonstration purposes only and uses basic configuration without high availability, advanced security, or production-grade settings. For production deployments, configure Redis with appropriate security, persistence, and high availability settings.
helm install redis oci://registry-1.docker.io/cloudpirates/redis -n traefik --wait
Get your Redis instance password:
export REDIS_PASSWORD=$(kubectl get secret redis -n traefik -o jsonpath="{.data.redis-password}" | base64 -d)
Update your Traefik Hub deployment to include Redis configuration:
helm upgrade traefik -n traefik --wait \
  --reset-then-reuse-values \
  --set hub.redis.endpoints=redis.traefik.svc.cluster.local:6379 \
  --set hub.redis.password=${REDIS_PASSWORD} \
  traefik/traefik
You can also edit your Traefik Hub stack helm values to include Redis configuration and rerun the stack as described in the Deploy Traefik Hub API Management from Oracle Marketplace guide instead of using the command above.
Create API Plans
Define multiple API plans (gold and bronze) with different rate limits and quotas:
cat <<EOF | kubectl apply -f -
apiVersion: hub.traefik.io/v1alpha1
kind: APIPlan
metadata:
  name: ociapi-gold-plan
  namespace: apps
spec:
  title: Gold
  description: Gold Plan
  rateLimit:
    limit: 100
    period: 1s
  quota:
    limit: 1000000
    period: 750h
---
apiVersion: hub.traefik.io/v1alpha1
kind: APIPlan
metadata:
  name: ociapi-bronze-plan
  namespace: apps
spec:
  title: Bronze
  description: Bronze Plan
  rateLimit:
    limit: 1
    period: 1s
  quota:
    limit: 1000
    period: 750h
EOF
Create API Catalog Items
Make your API plans available in the developer portal:
cat <<EOF | kubectl apply -f -
apiVersion: hub.traefik.io/v1alpha1
kind: APICatalogItem
metadata:
  name: ociapi-gold-catalog-item
  namespace: apps
spec:
  everyone: true
  apis:
    - name: traefik-ociapi-api
  apiPlan:
    name: ociapi-gold-plan
---
apiVersion: hub.traefik.io/v1alpha1
kind: APICatalogItem
metadata:
  name: ociapi-bronze-catalog-item
  namespace: apps
spec:
  everyone: true
  apis:
    - name: traefik-ociapi-api
  apiPlan:
    name: ociapi-bronze-plan
EOF
Developer Portal Setup
API Portal Resource
Create an API Portal to provide a developer-friendly interface for your APIs:
cat <<EOF | kubectl apply -f -
apiVersion: hub.traefik.io/v1alpha1
kind: APIPortal
metadata:
  name: oci-portal
  namespace: apps
spec:
  title: "OCI Portal"
  description: "Documentation of my APIs"
  trustedUrls:
    - https://${EXTERNAL_IP}/oci-portal
EOF
Portal Routing Configuration��
Configure routing to make the API Portal accessible:
cat <<EOF | kubectl apply -f -
apiVersion: traefik.io/v1alpha1
kind: IngressRoute
metadata:
  name: oci-portal-route
  namespace: apps
  annotations:
    hub.traefik.io/api-portal: oci-portal@apps
spec:
  entryPoints:
    - websecure
  routes:
    - match: PathPrefix(\`/oci-portal\`)
      kind: Rule
      middlewares:
        - name: stripprefix-ociapi
          namespace: apps
      services:
        - name: apiportal
          namespace: traefik
          port: 9903
EOF
Securing Your OCI API with JWT and SSO
JWT Authentication Setup
Configure Traefik Hub to validate JWT tokens issued by OCI Identity Domains.
First, locate your OCI Identity Domain's JWKS URI from the .well-known/openid-configuration endpoint. For example:
https://idcs-**********.identity.oraclecloud.com/admin/v1/SigningCert/jwk
In the Traefik Hub Dashboard, configure JWT authentication:
- Navigate to Auth Settings → Gateway → JWT
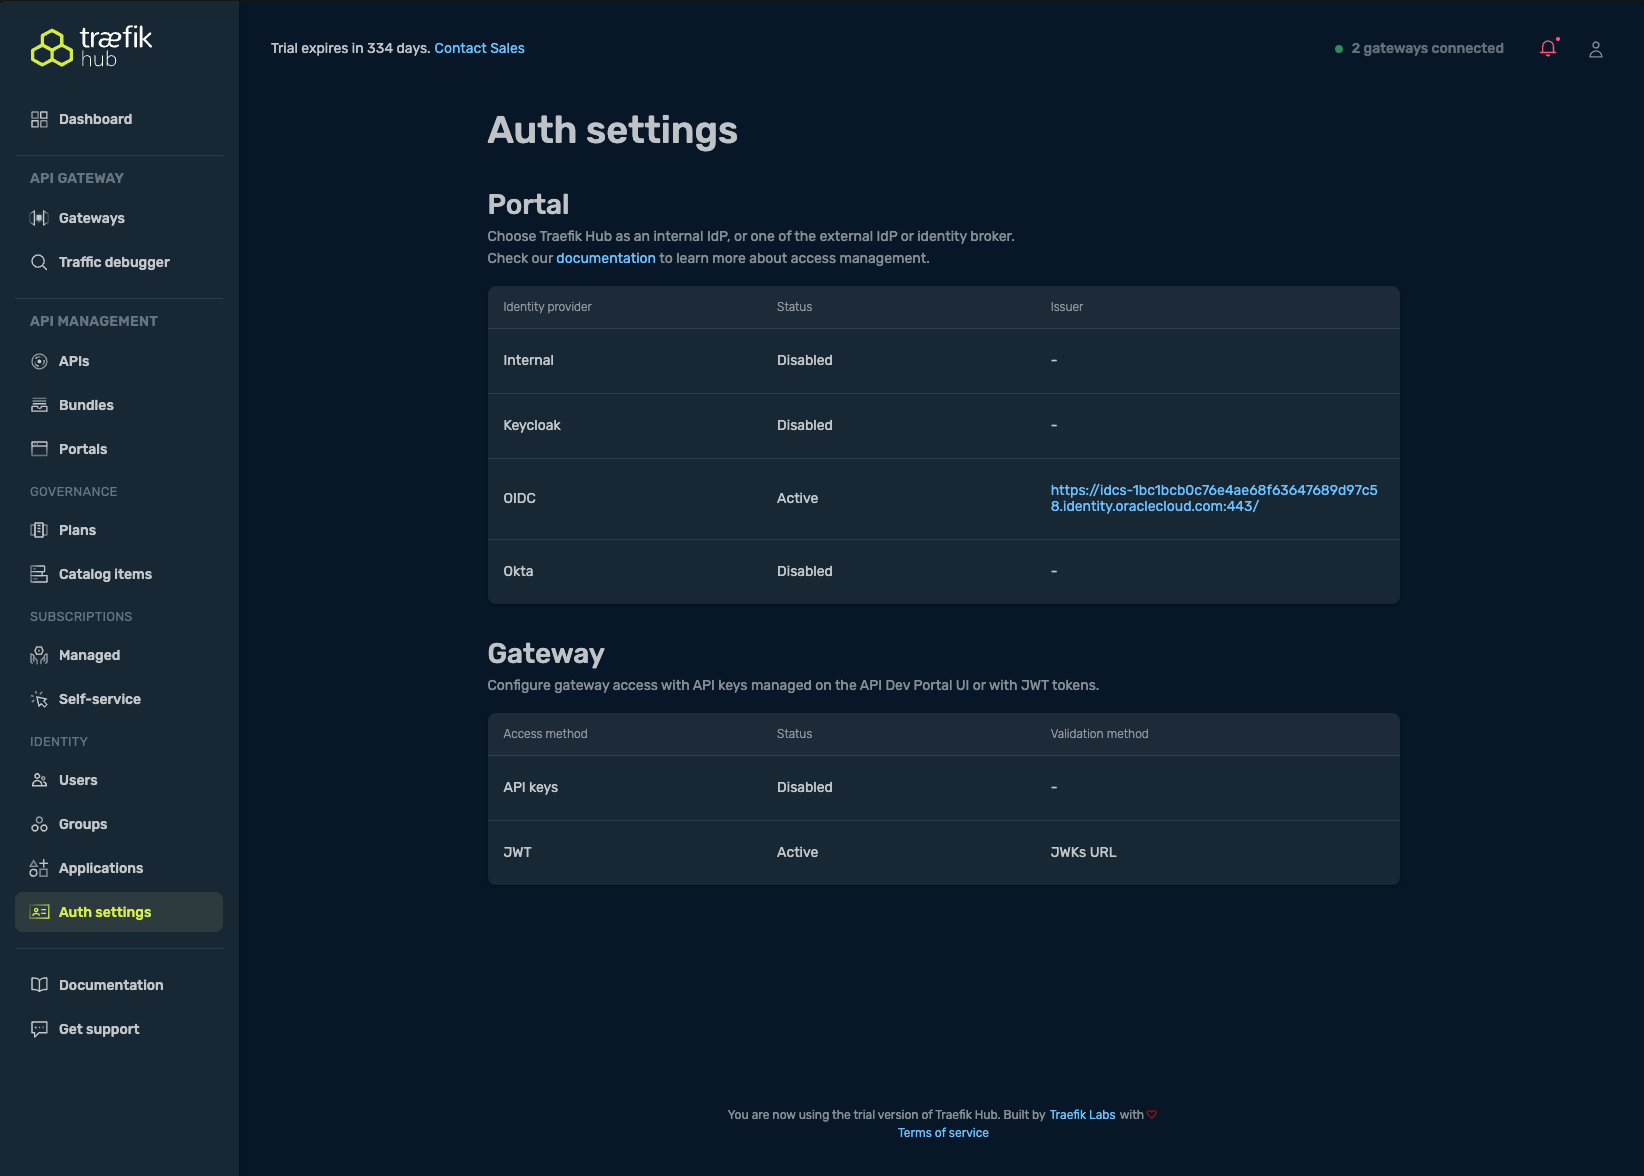
- Set the Token validation method to JWKs URL
- Paste your JWKS URI in the provided field and save
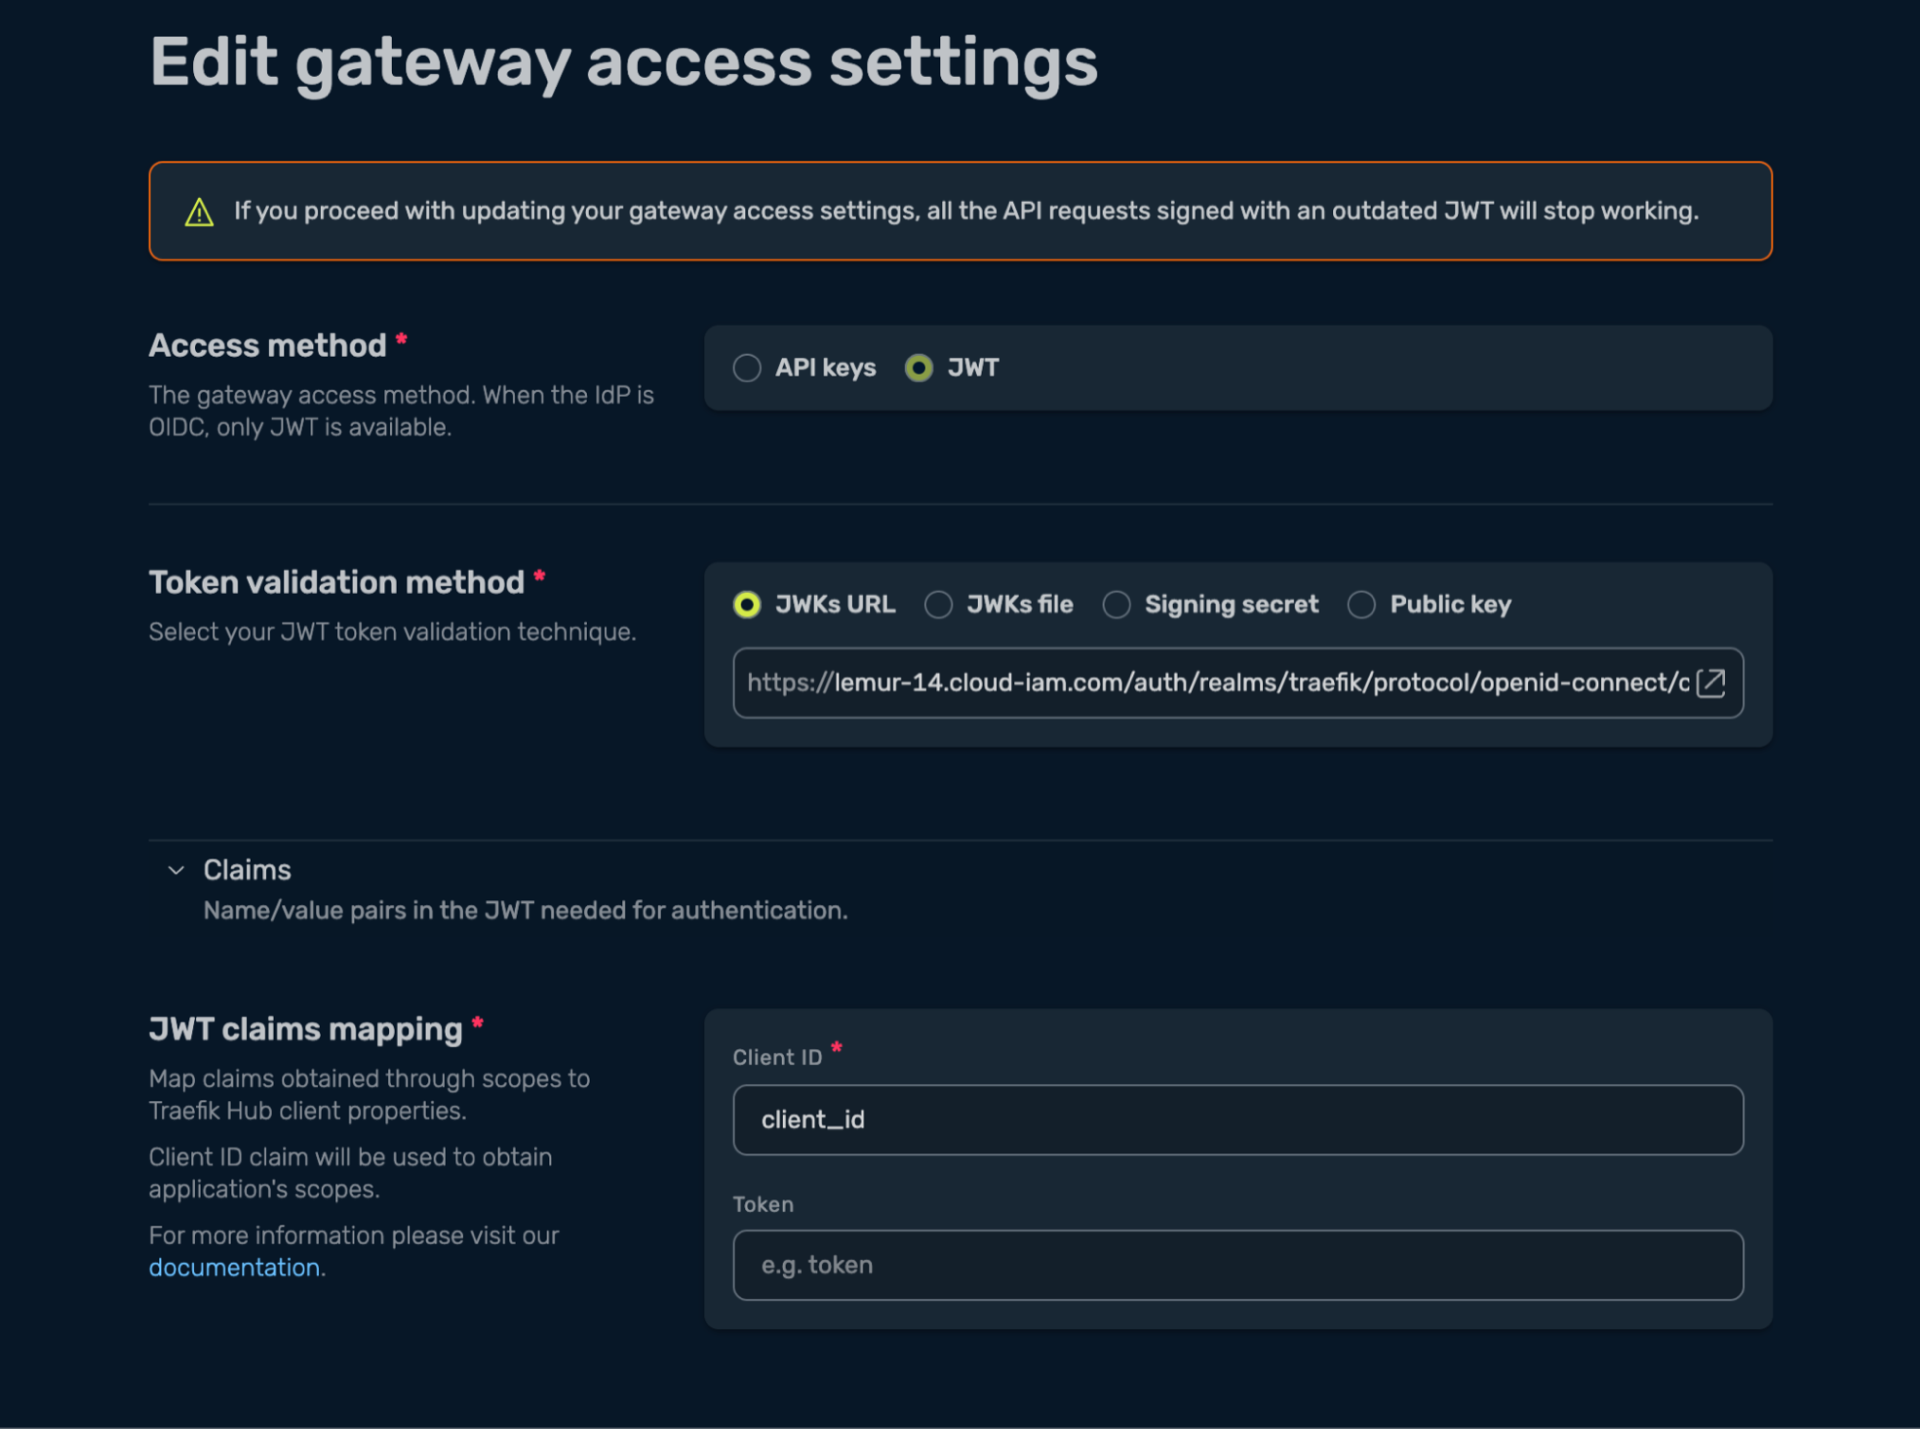
This configuration ensures that Traefik Hub validates JWTs issued by OCI, allowing only authenticated requests to reach your APIs.
Single Sign-on Configuration
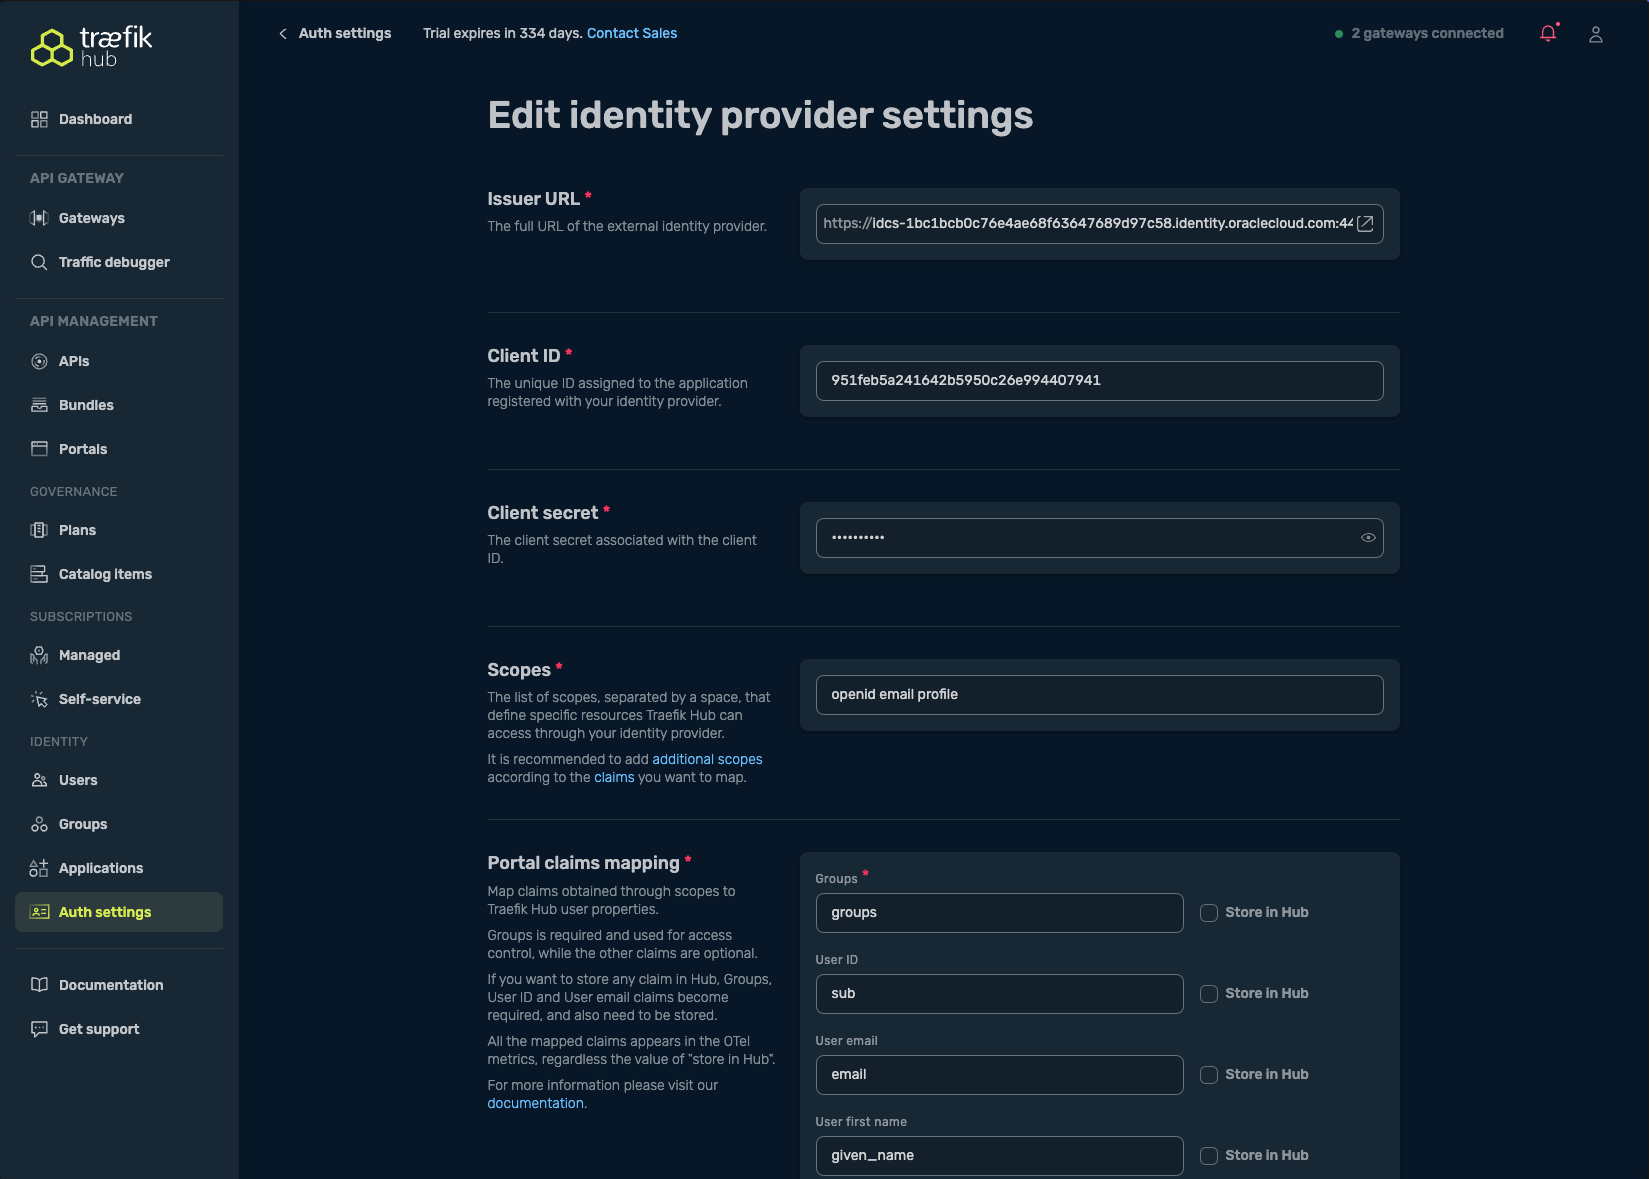
Enable SSO by configuring Traefik Hub to use OCI as an external OIDC Identity Provider:
- In Auth Settings, select the OIDC option in the Portal table
-
Complete the OIDC configuration form with:
- Issuer URL: The OIDC discovery URL from OCI (ends with
/.well-known/openid-configuration) - Client ID and Client Secret: From your OCI application registration
- Scopes: At minimum
openid; recommended:openid email profile - (Optional) Map claims for groups, user ID, email, etc., as needed for access control
- Issuer URL: The OIDC discovery URL from OCI (ends with
-
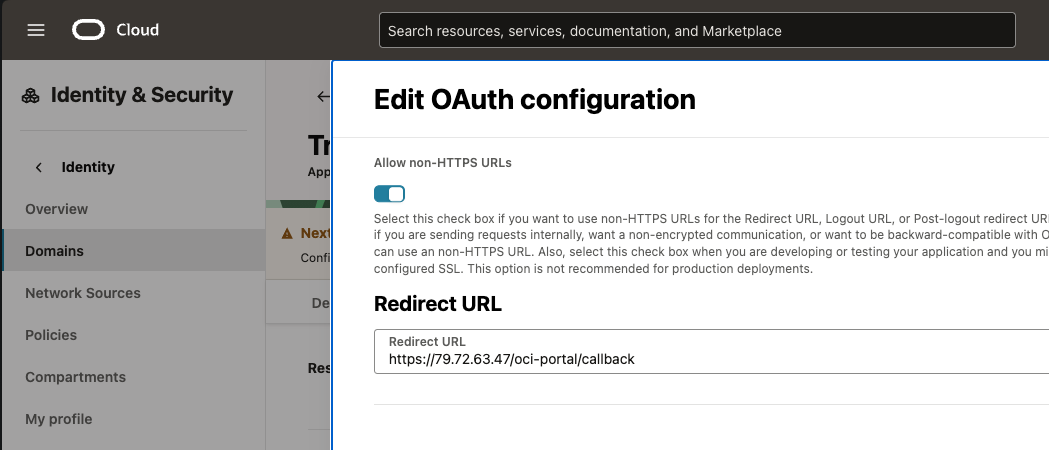
Configure the redirect URL in your OCI console:
- Add the redirect URL:
https://<EXTERNAL_IP>/oci-portal/callback - Navigate to your Domain → Integrated Applications and specify this URL
- Add the redirect URL:
After saving, Traefik Hub will:
- Switch the API Portal login to your OCI Identity Provider, enabling SSO for users
- Require JWT tokens issued by OCI for API access (API keys will be turned off automatically)
For more details on OIDC SSO configuration, refer to the Oracle IAM Identity Domain documentation.
For GitOps workflows & offline deployments, you can also configure authentication using CRDs. See the API Authentication and API Portal Authentication documentation for CRD-based configuration examples.
Testing the API Portal
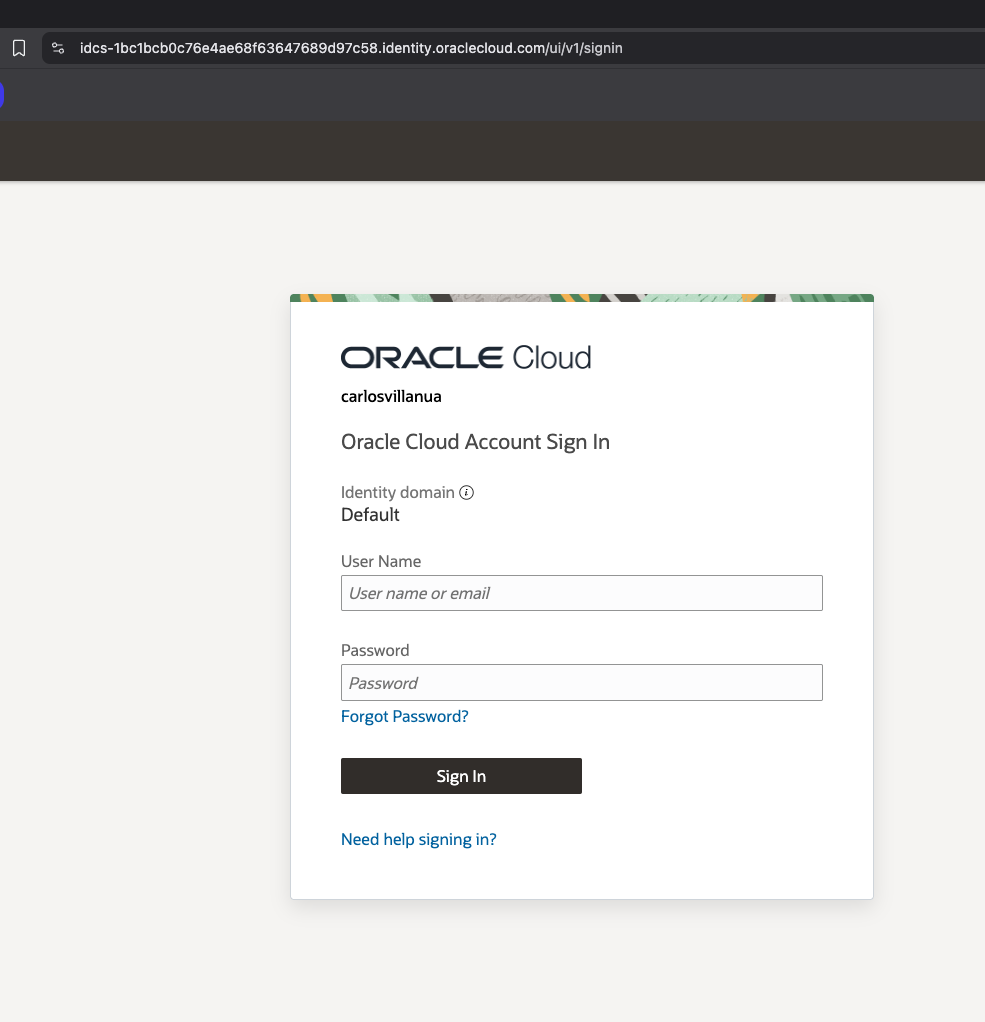
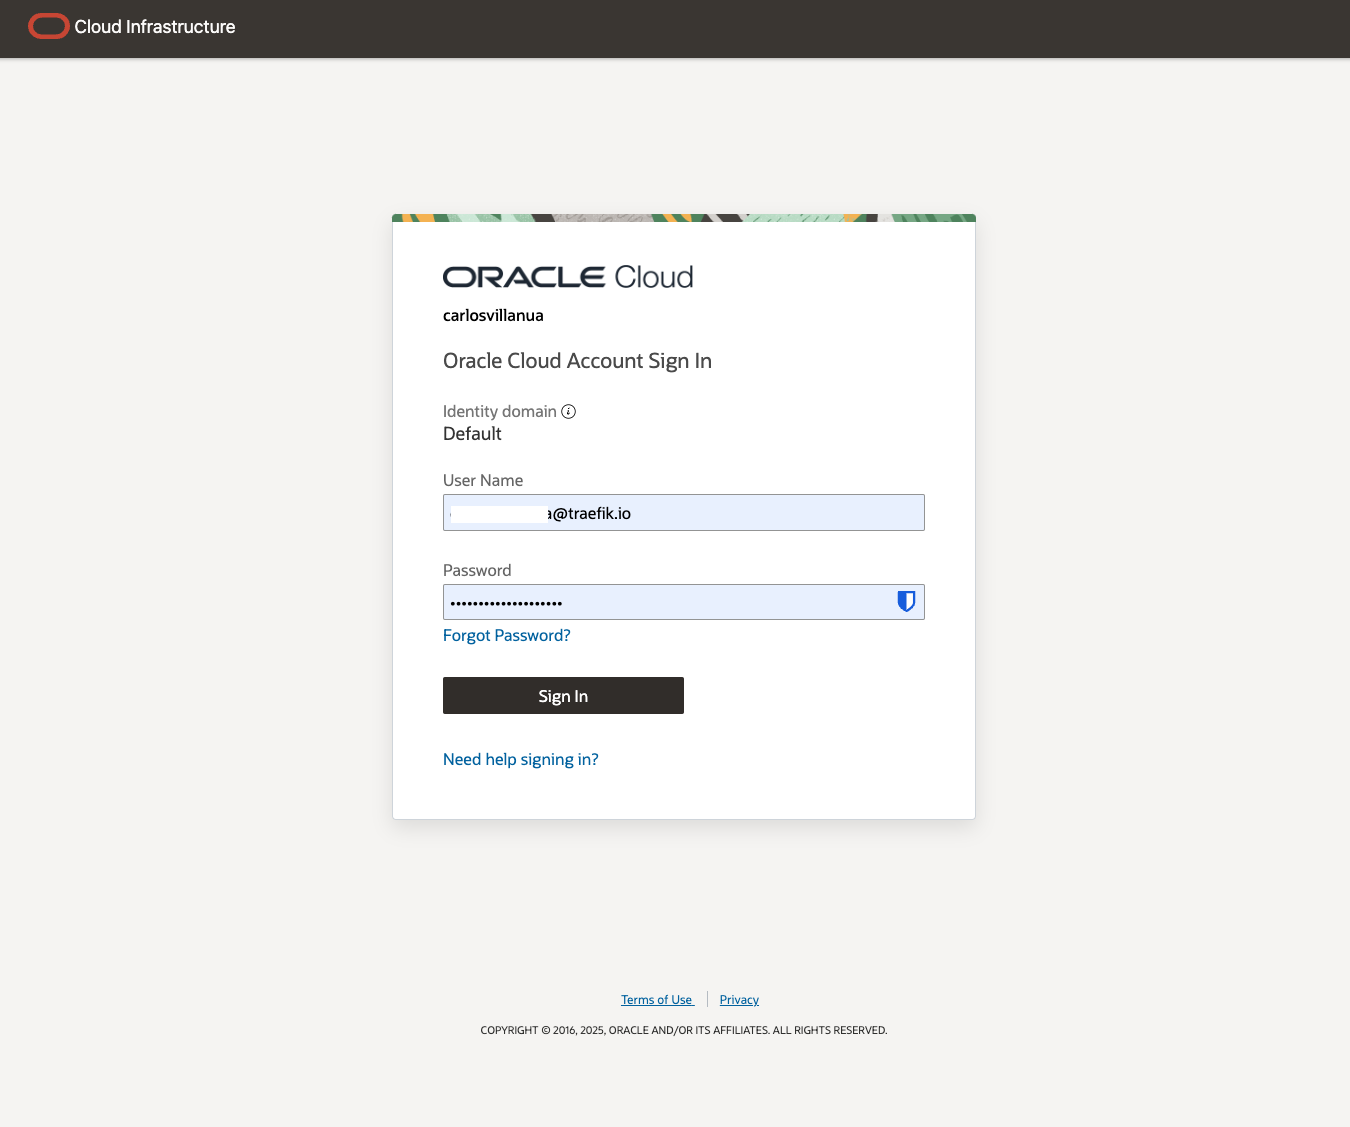
Access the Portal
Navigate to your API Portal at https://<EXTERNAL_IP>/oci-portal and sign in using your SSO account:
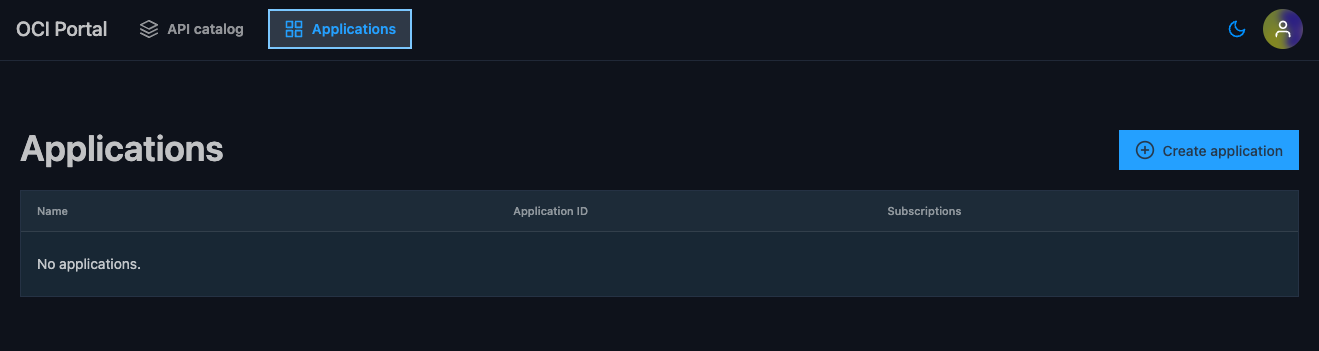
Create an Application
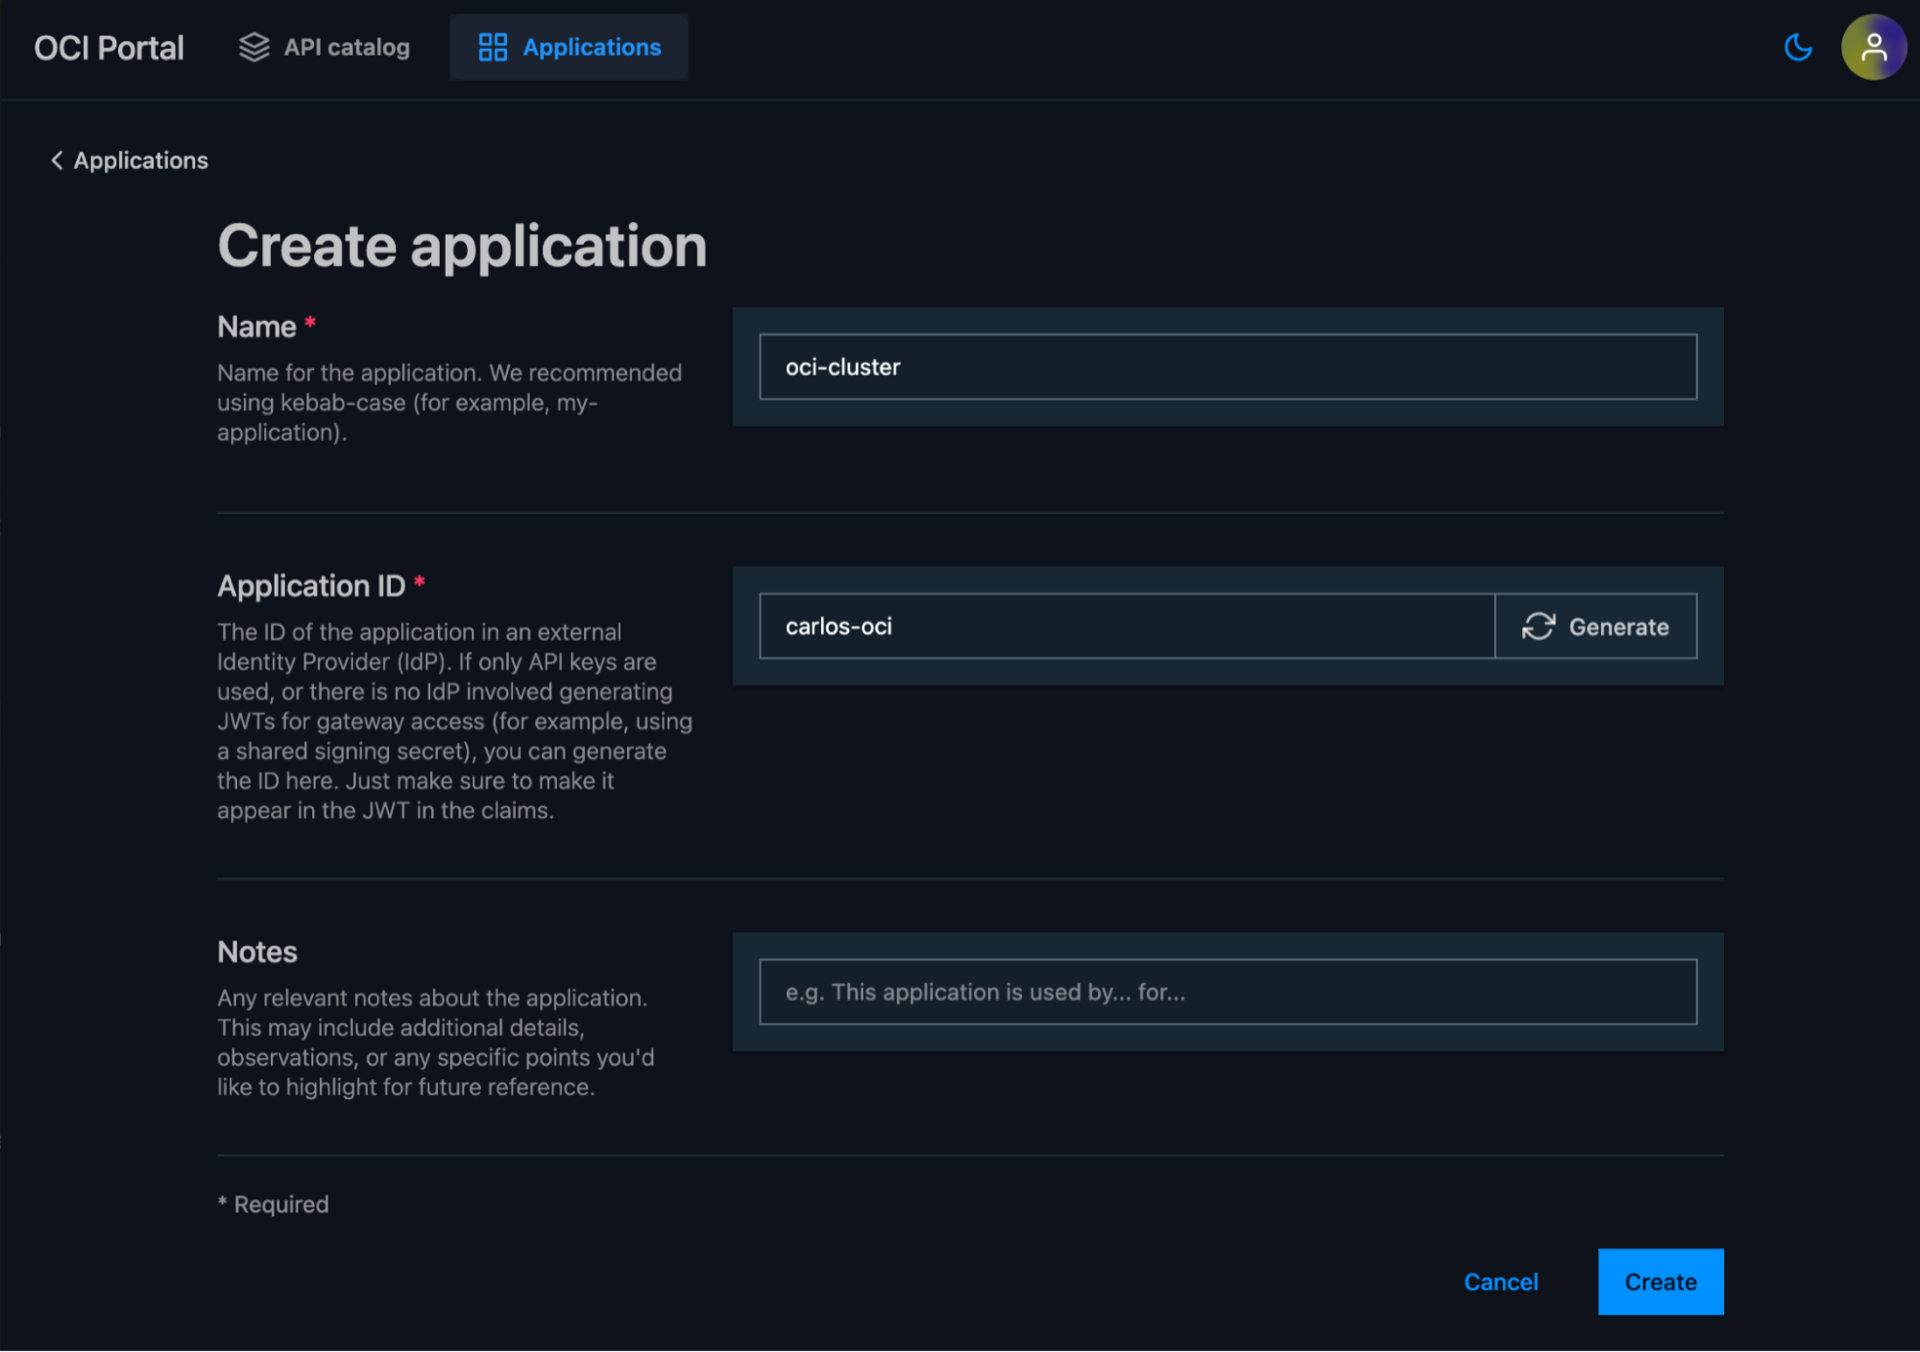
- Select the Applications tab and choose Create Application
- Add a name and Application ID.
For OCI integration, use the Client ID that creates the JWT and is included as a claim in the JWT token. You can verify the Client ID using JWT.io with one of your JWT tokens.
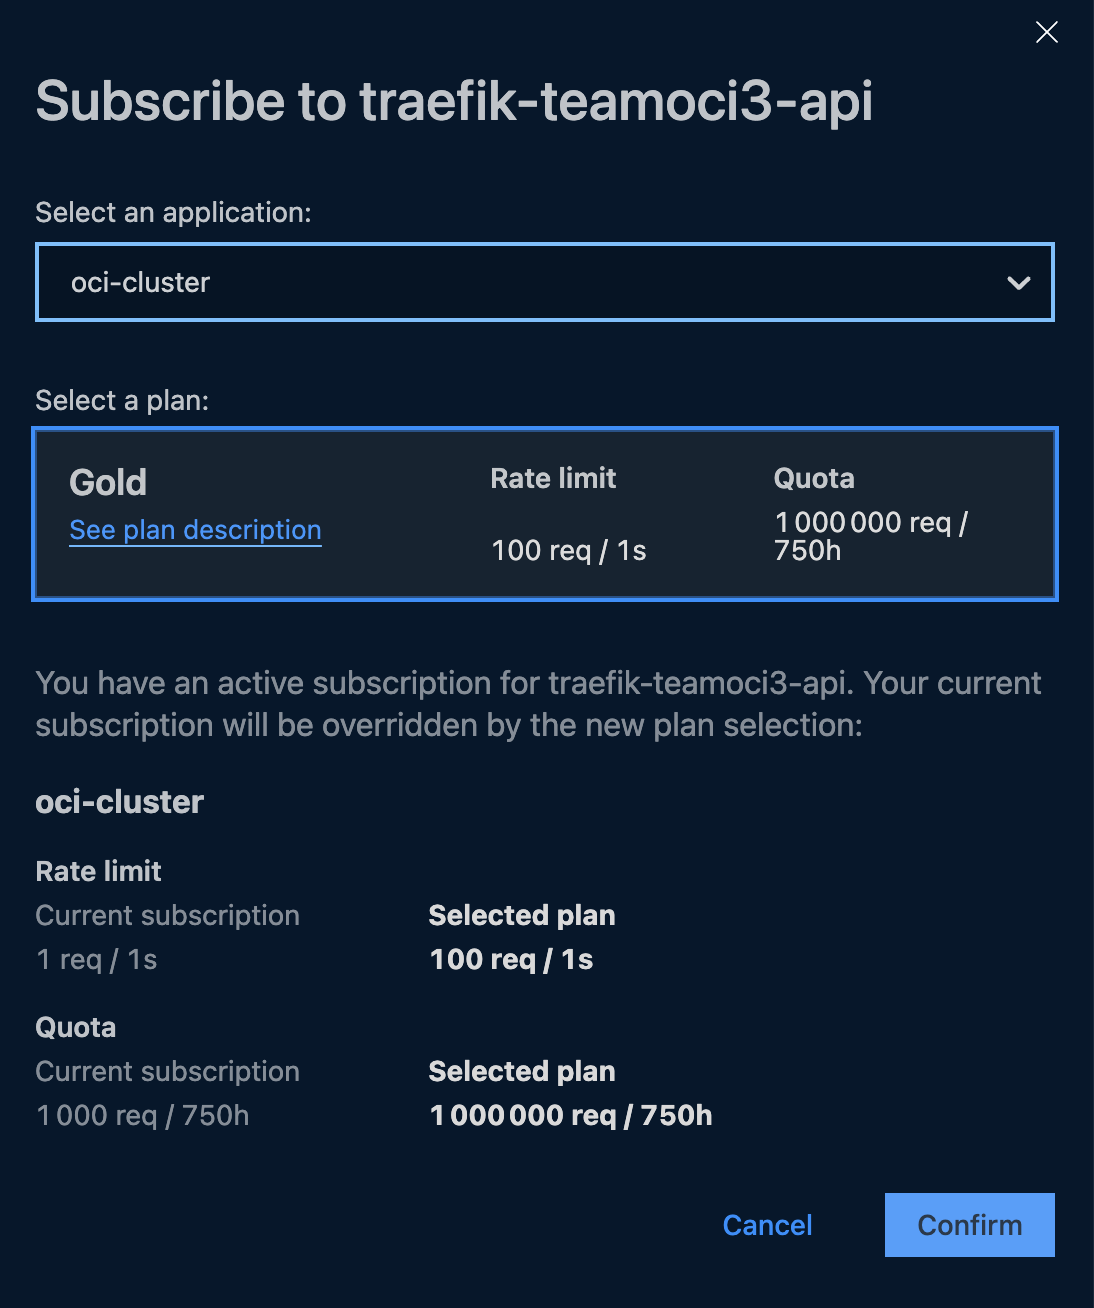
Create a Subscription
- Select Add Subscription and choose your desired plan
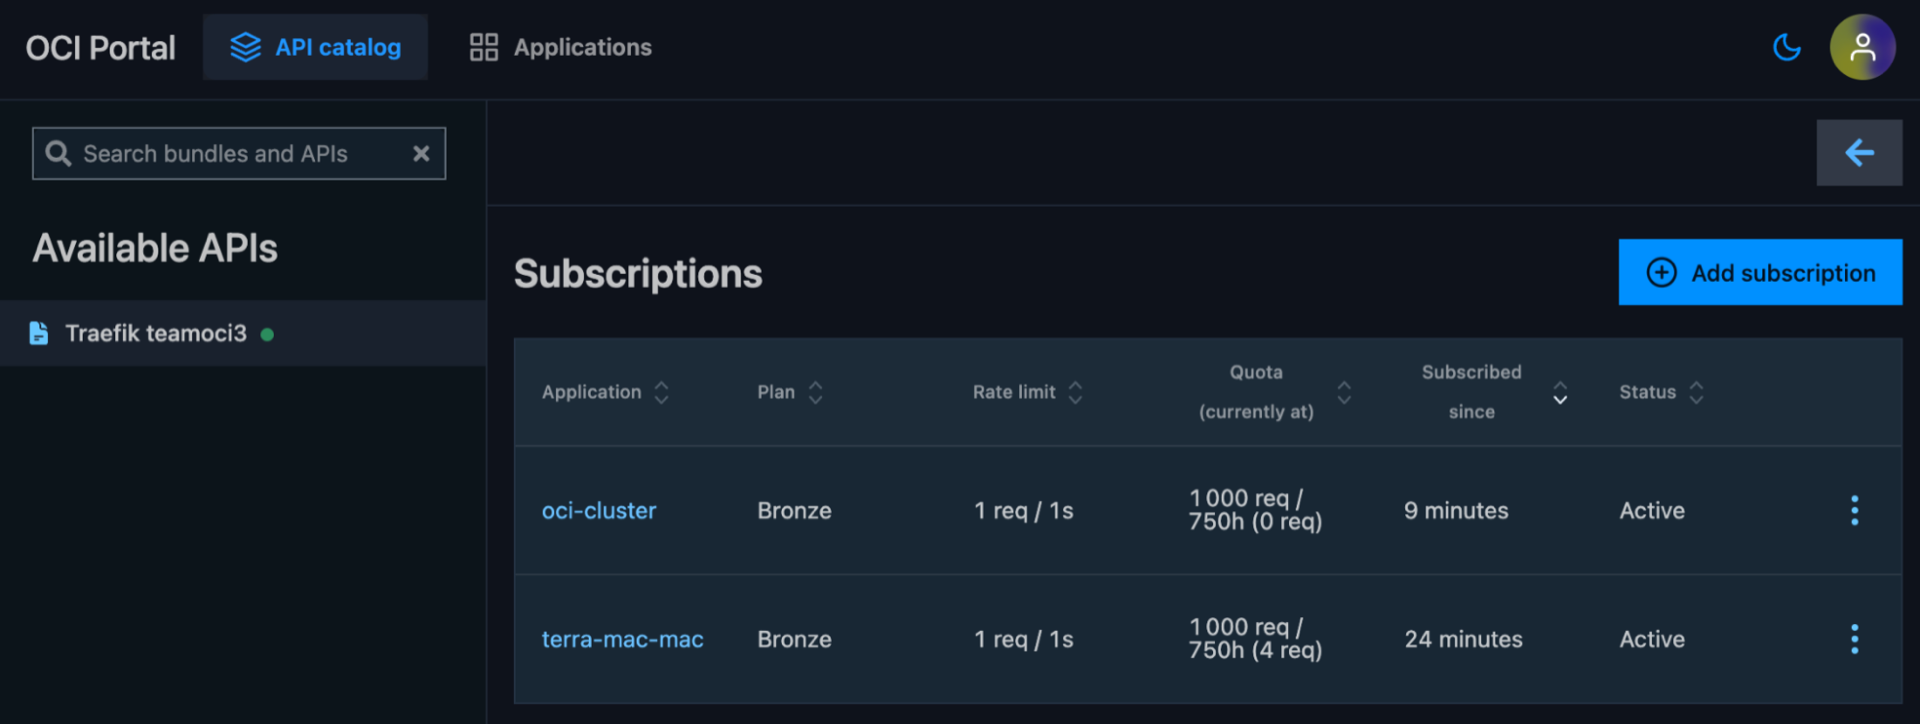
- Select an application and plan for the subscription
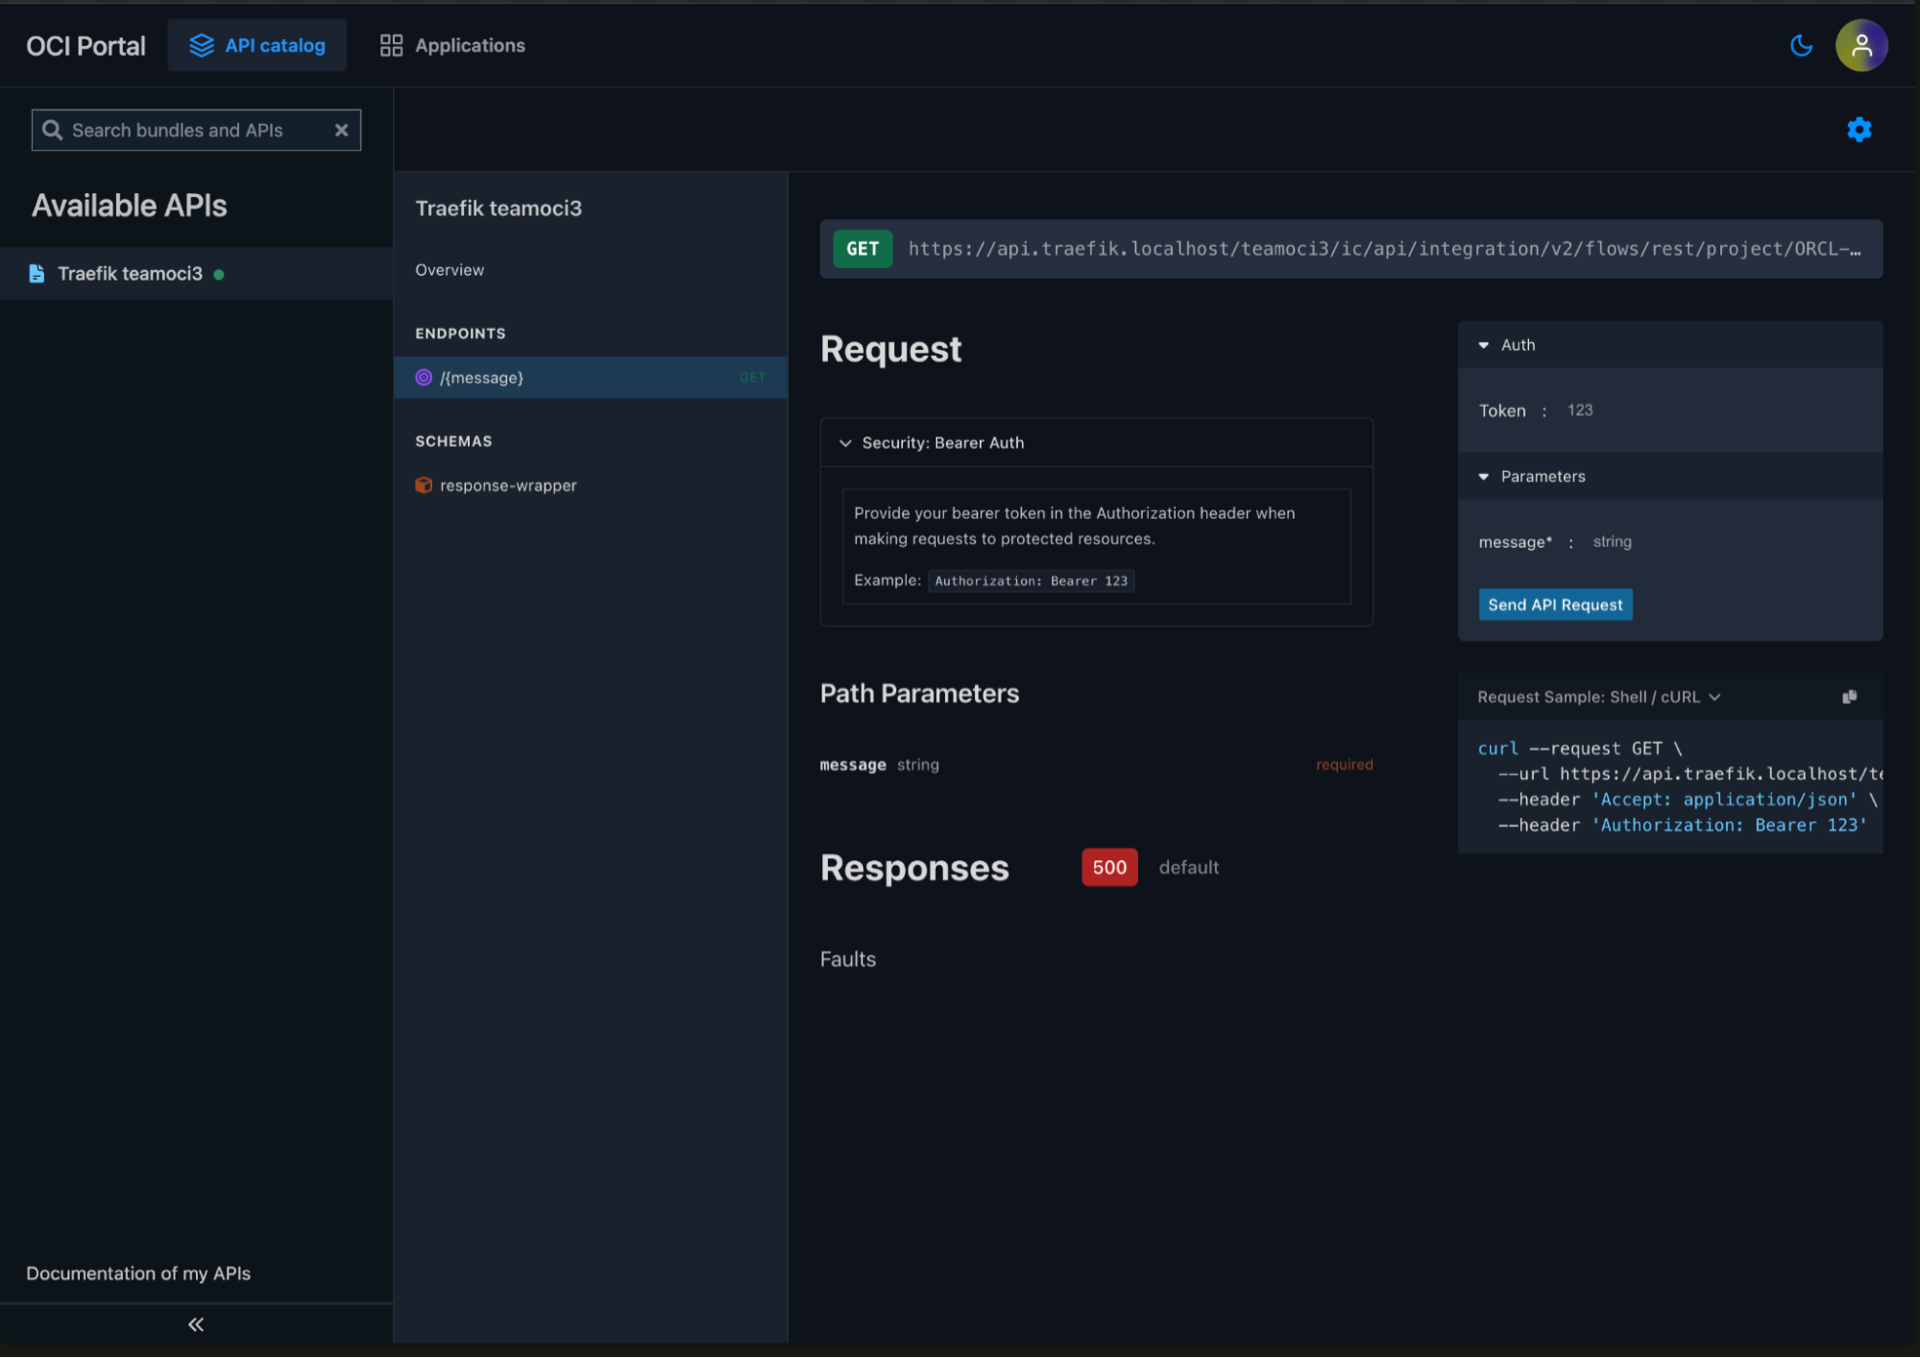
Test the API
Use the API Portal's built-in testing interface to test your external API endpoints. Obtain a JWT token from your OCI Identity Provider and use it to authenticate your API requests:
Conclusion
This tutorial demonstrated how to:
- Enable external API routing by configuring Traefik Hub with the required Helm flags
- Deploy the provided manifests to expose and secure your external APIs via Traefik Hub on OKE
- Configure authentication using OCI's OIDC integration for robust security
You now have a complete setup that allows you to manage external APIs through Traefik Hub on Oracle Cloud Infrastructure, with comprehensive security, rate limiting, and developer portal capabilities.
For additional details on the base setup, refer to the Deploy Traefik Hub API Management from Oracle Marketplace documentation.
Related Content
- Learn how to deploy Traefik Hub API Management from Oracle Marketplace
- Learn how to configure Oracle IAM Identity Domain
- Learn how to configure external APIs in Traefik Hub
